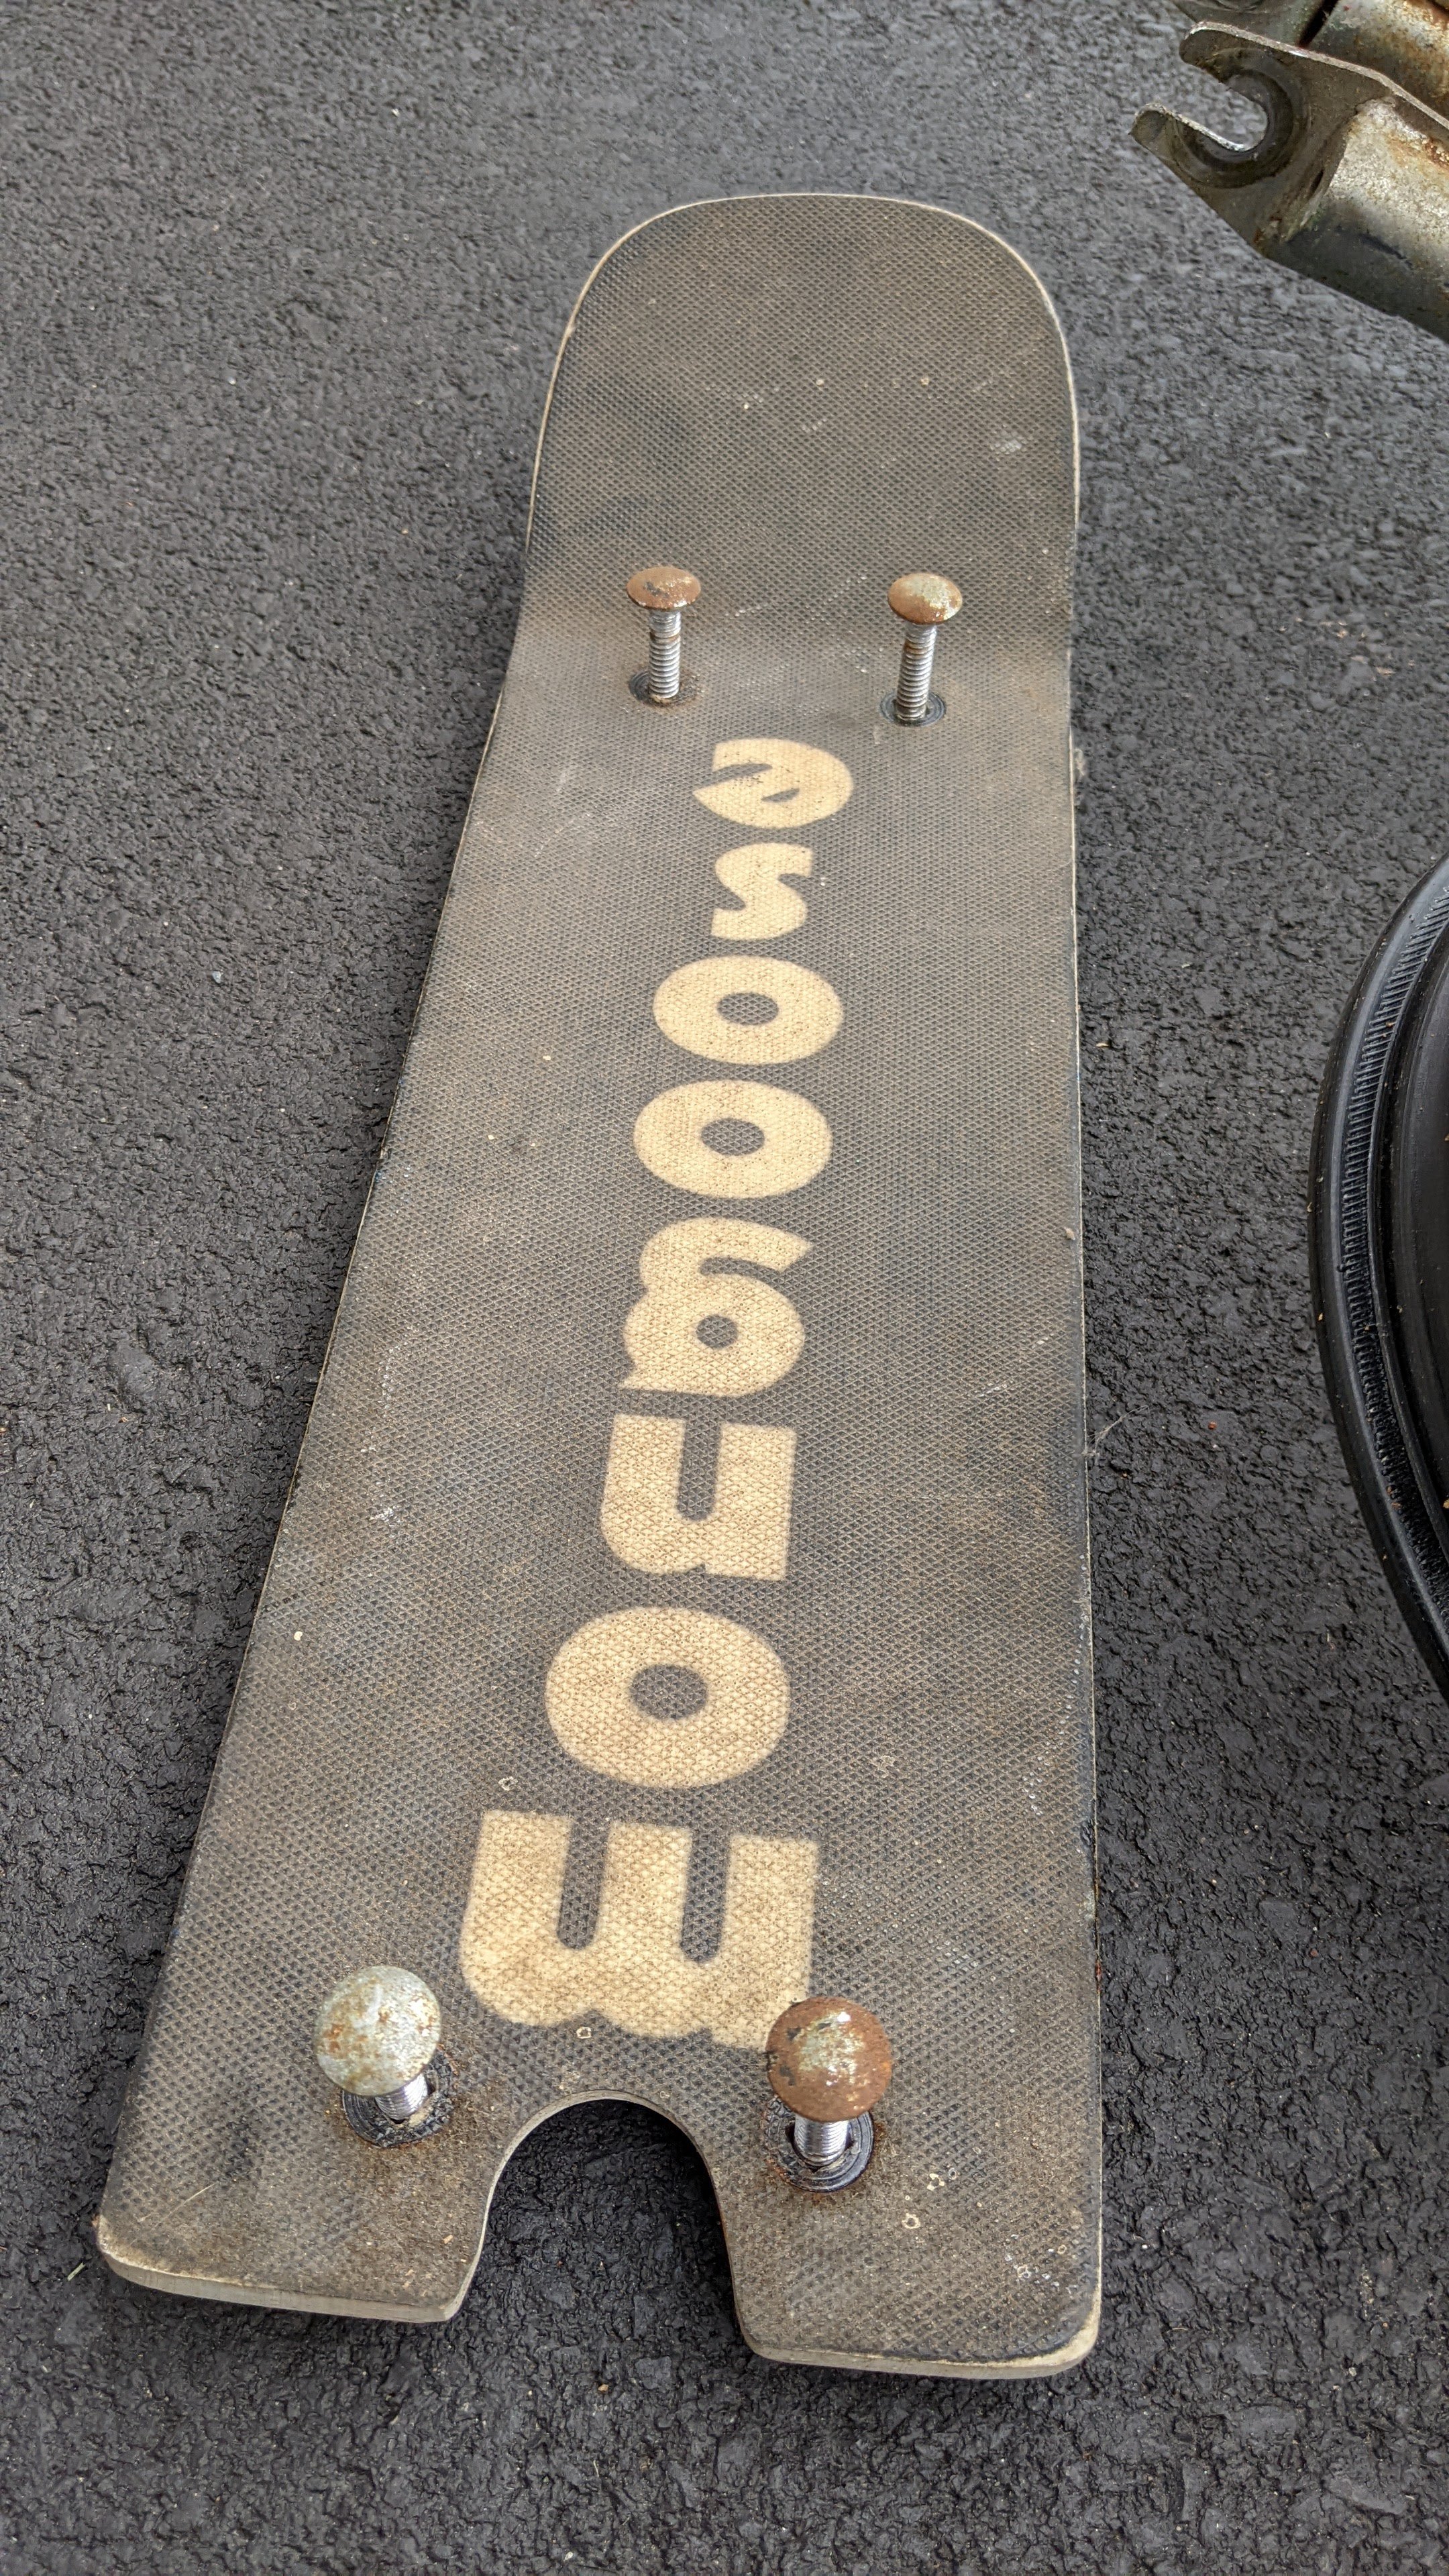
1986 Mongoose Mini Scooter Restore
WARNING: Before starting any project, make sure to use all Saftey precautions. OldSchoolBMXTV nor it's affiliates are responisble for any damage/injuries/death that occur during this proccess.
Purchases made through some store links may provide some compensation to OldSchoolBMXTV/Scott Sliwinski
I got this Scooter originally back in 1987. My brother originally purchased it, but really did not bother with it overall, so I asked him if I could have it.
Overall I rode this scooter general and even in some Local AFA Competitions (PA AFA), but as I got older and into cars and girls, riding my Bikes overall became something of the past. Fast forward to 2016 and my Scooter came back into my life again after the passing of my Mom and my brother and I spend a few weekends cleaning out the house. We found all kinds of stuff, but this guy was in the old/damp shed.


First, I needed to get some Oxalic Acid! This process was detailed in the Forums of BMXMUSEUM - How To Do an Oxalic Acid Bath. Very Detailed and pretty simple to follow. The hardest part may be finding a bin large enough to fit all your parts and Frame.
Oxalic Acid is readily available at most Home Improvement stores, but I choose to get mine through Amazon. It’s a 2lb Bag, you are literally only going to need a couple/few tablespoons in your mixture, so you will have plenty for future projects (Link Below)
OXALIC ACID 99.6% 2 Lb. Deck, Crystals, Metal Cleaning- Rust Removal, Wood Stain Remover and More!
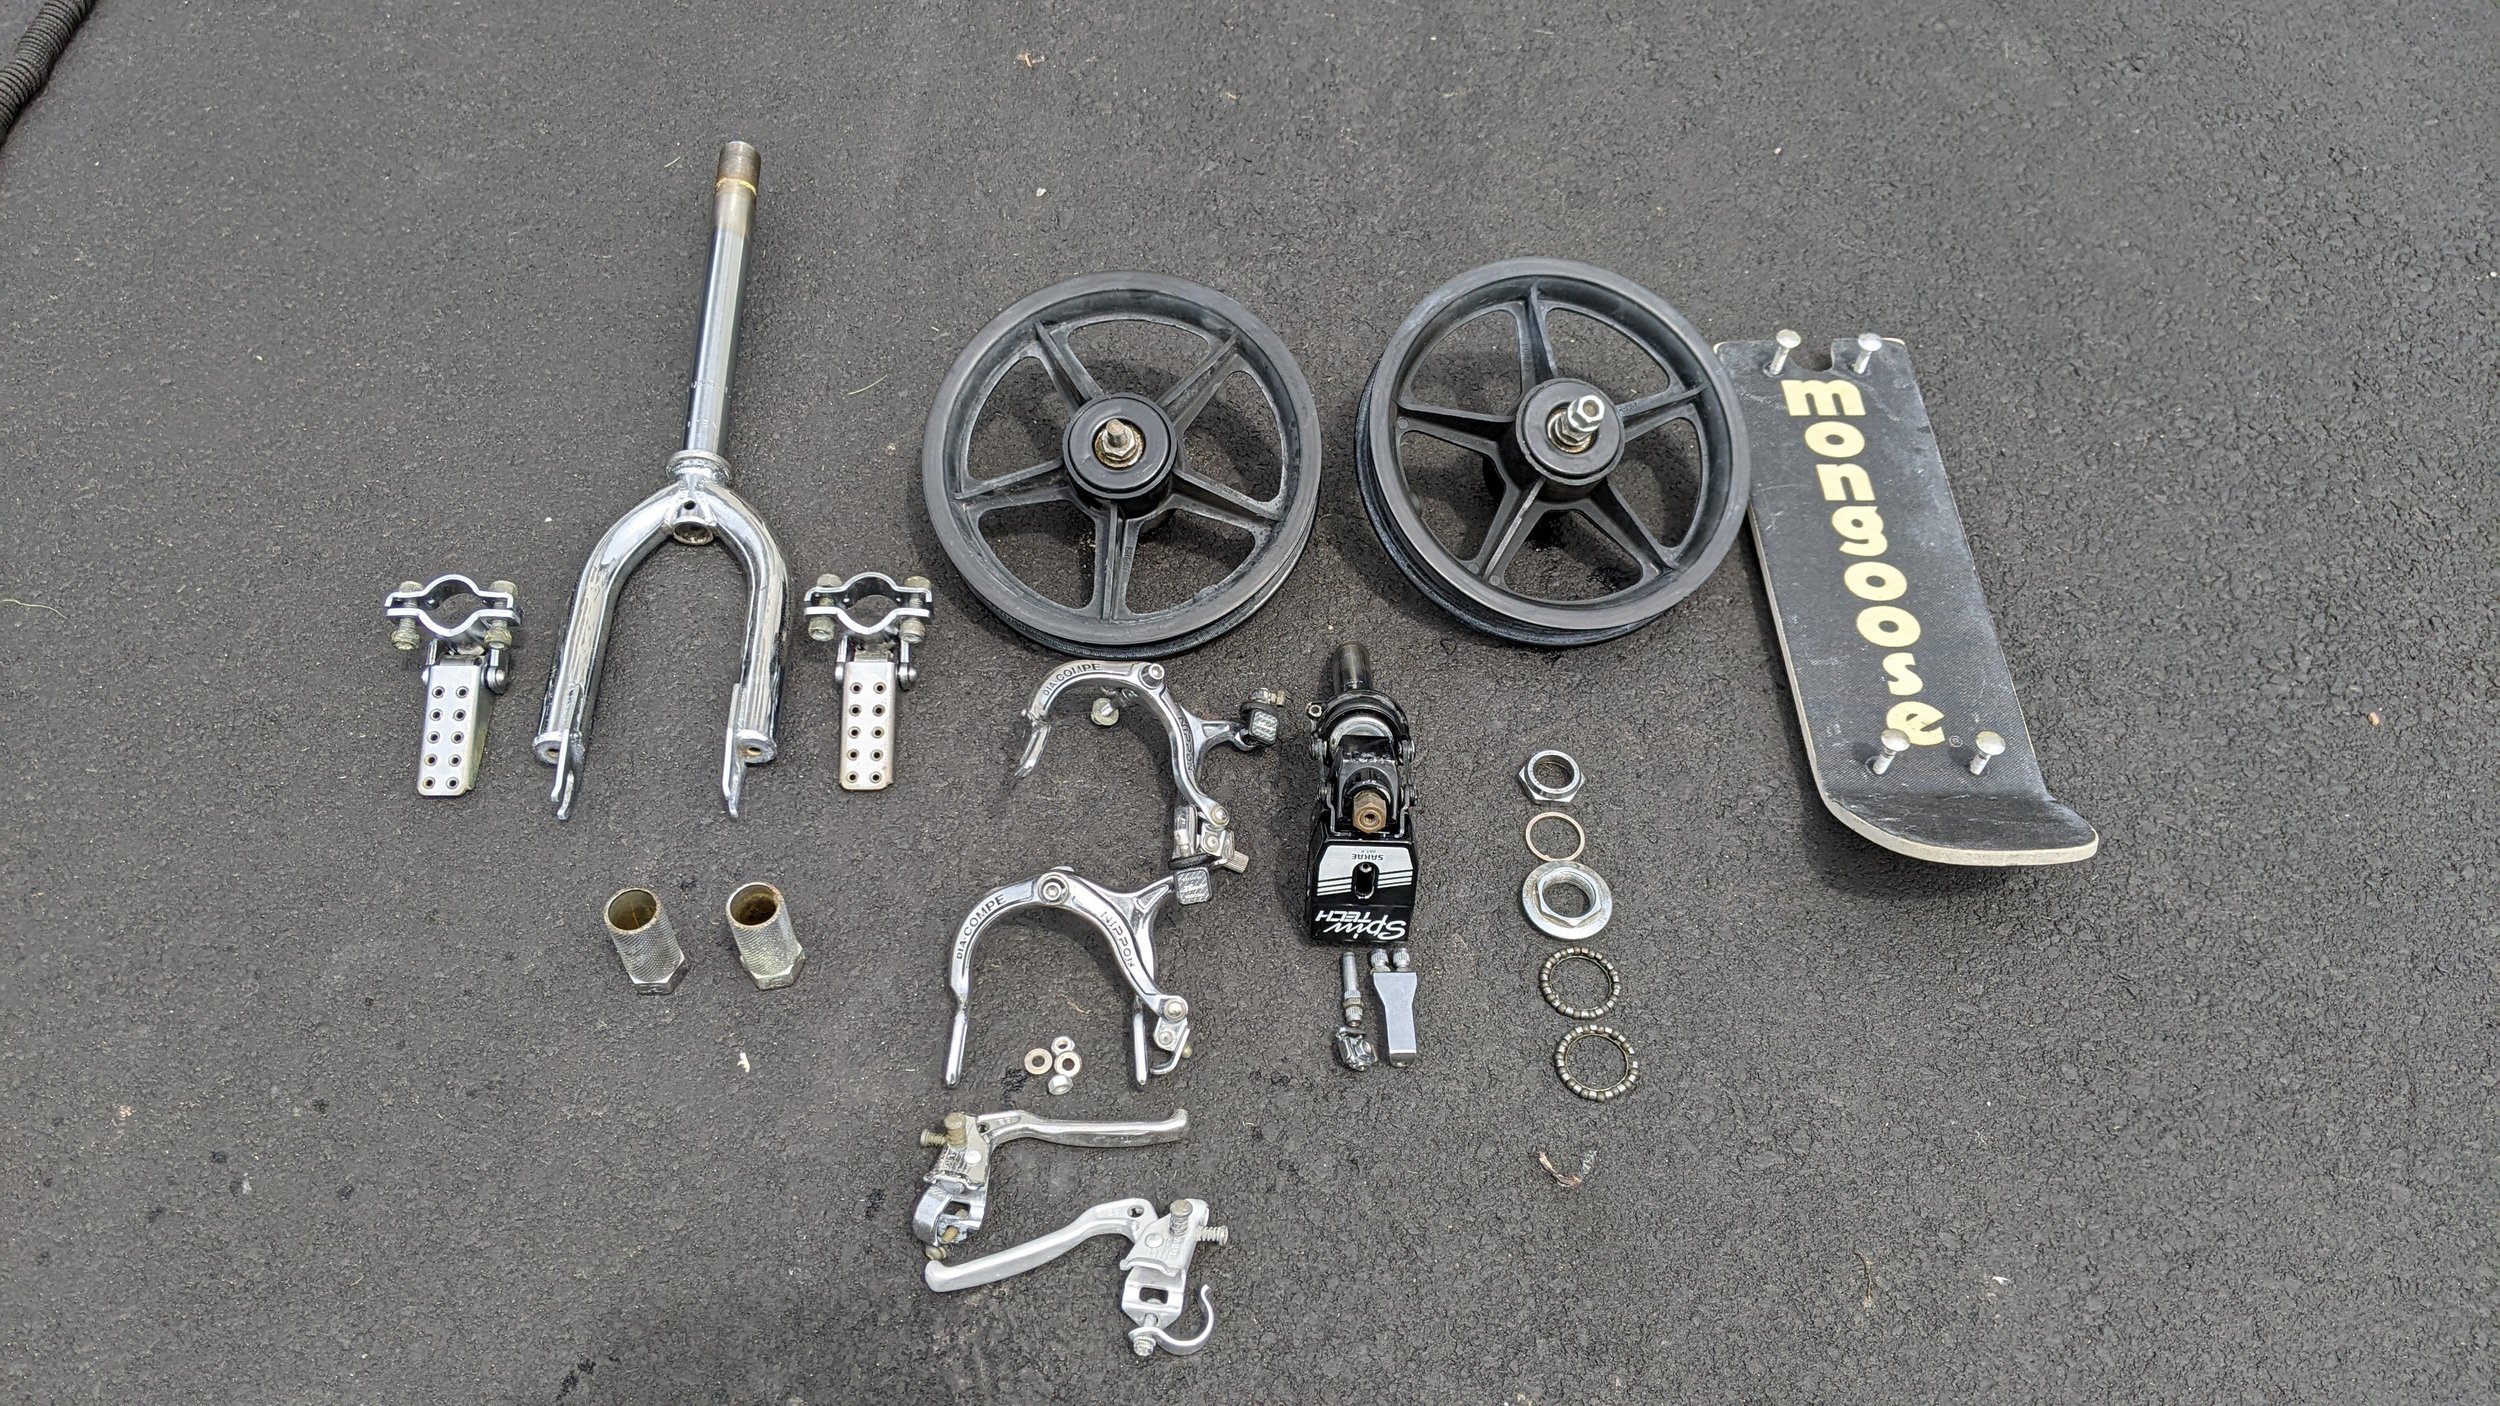
Now, I had to get the Scooter apart! My fear was that after 30 years, it was more or less rusted together! Rust is Cancer to Metal, so I went in with a nothing to lose and everything to gain attitude! It came apart relatively easily. My only struggle was the Odyssey Barefoot Tires which were dry rotted and overall shattered when I took them off the Mags. They still looked like tires beforehand, but after they looked like shredded wheat.


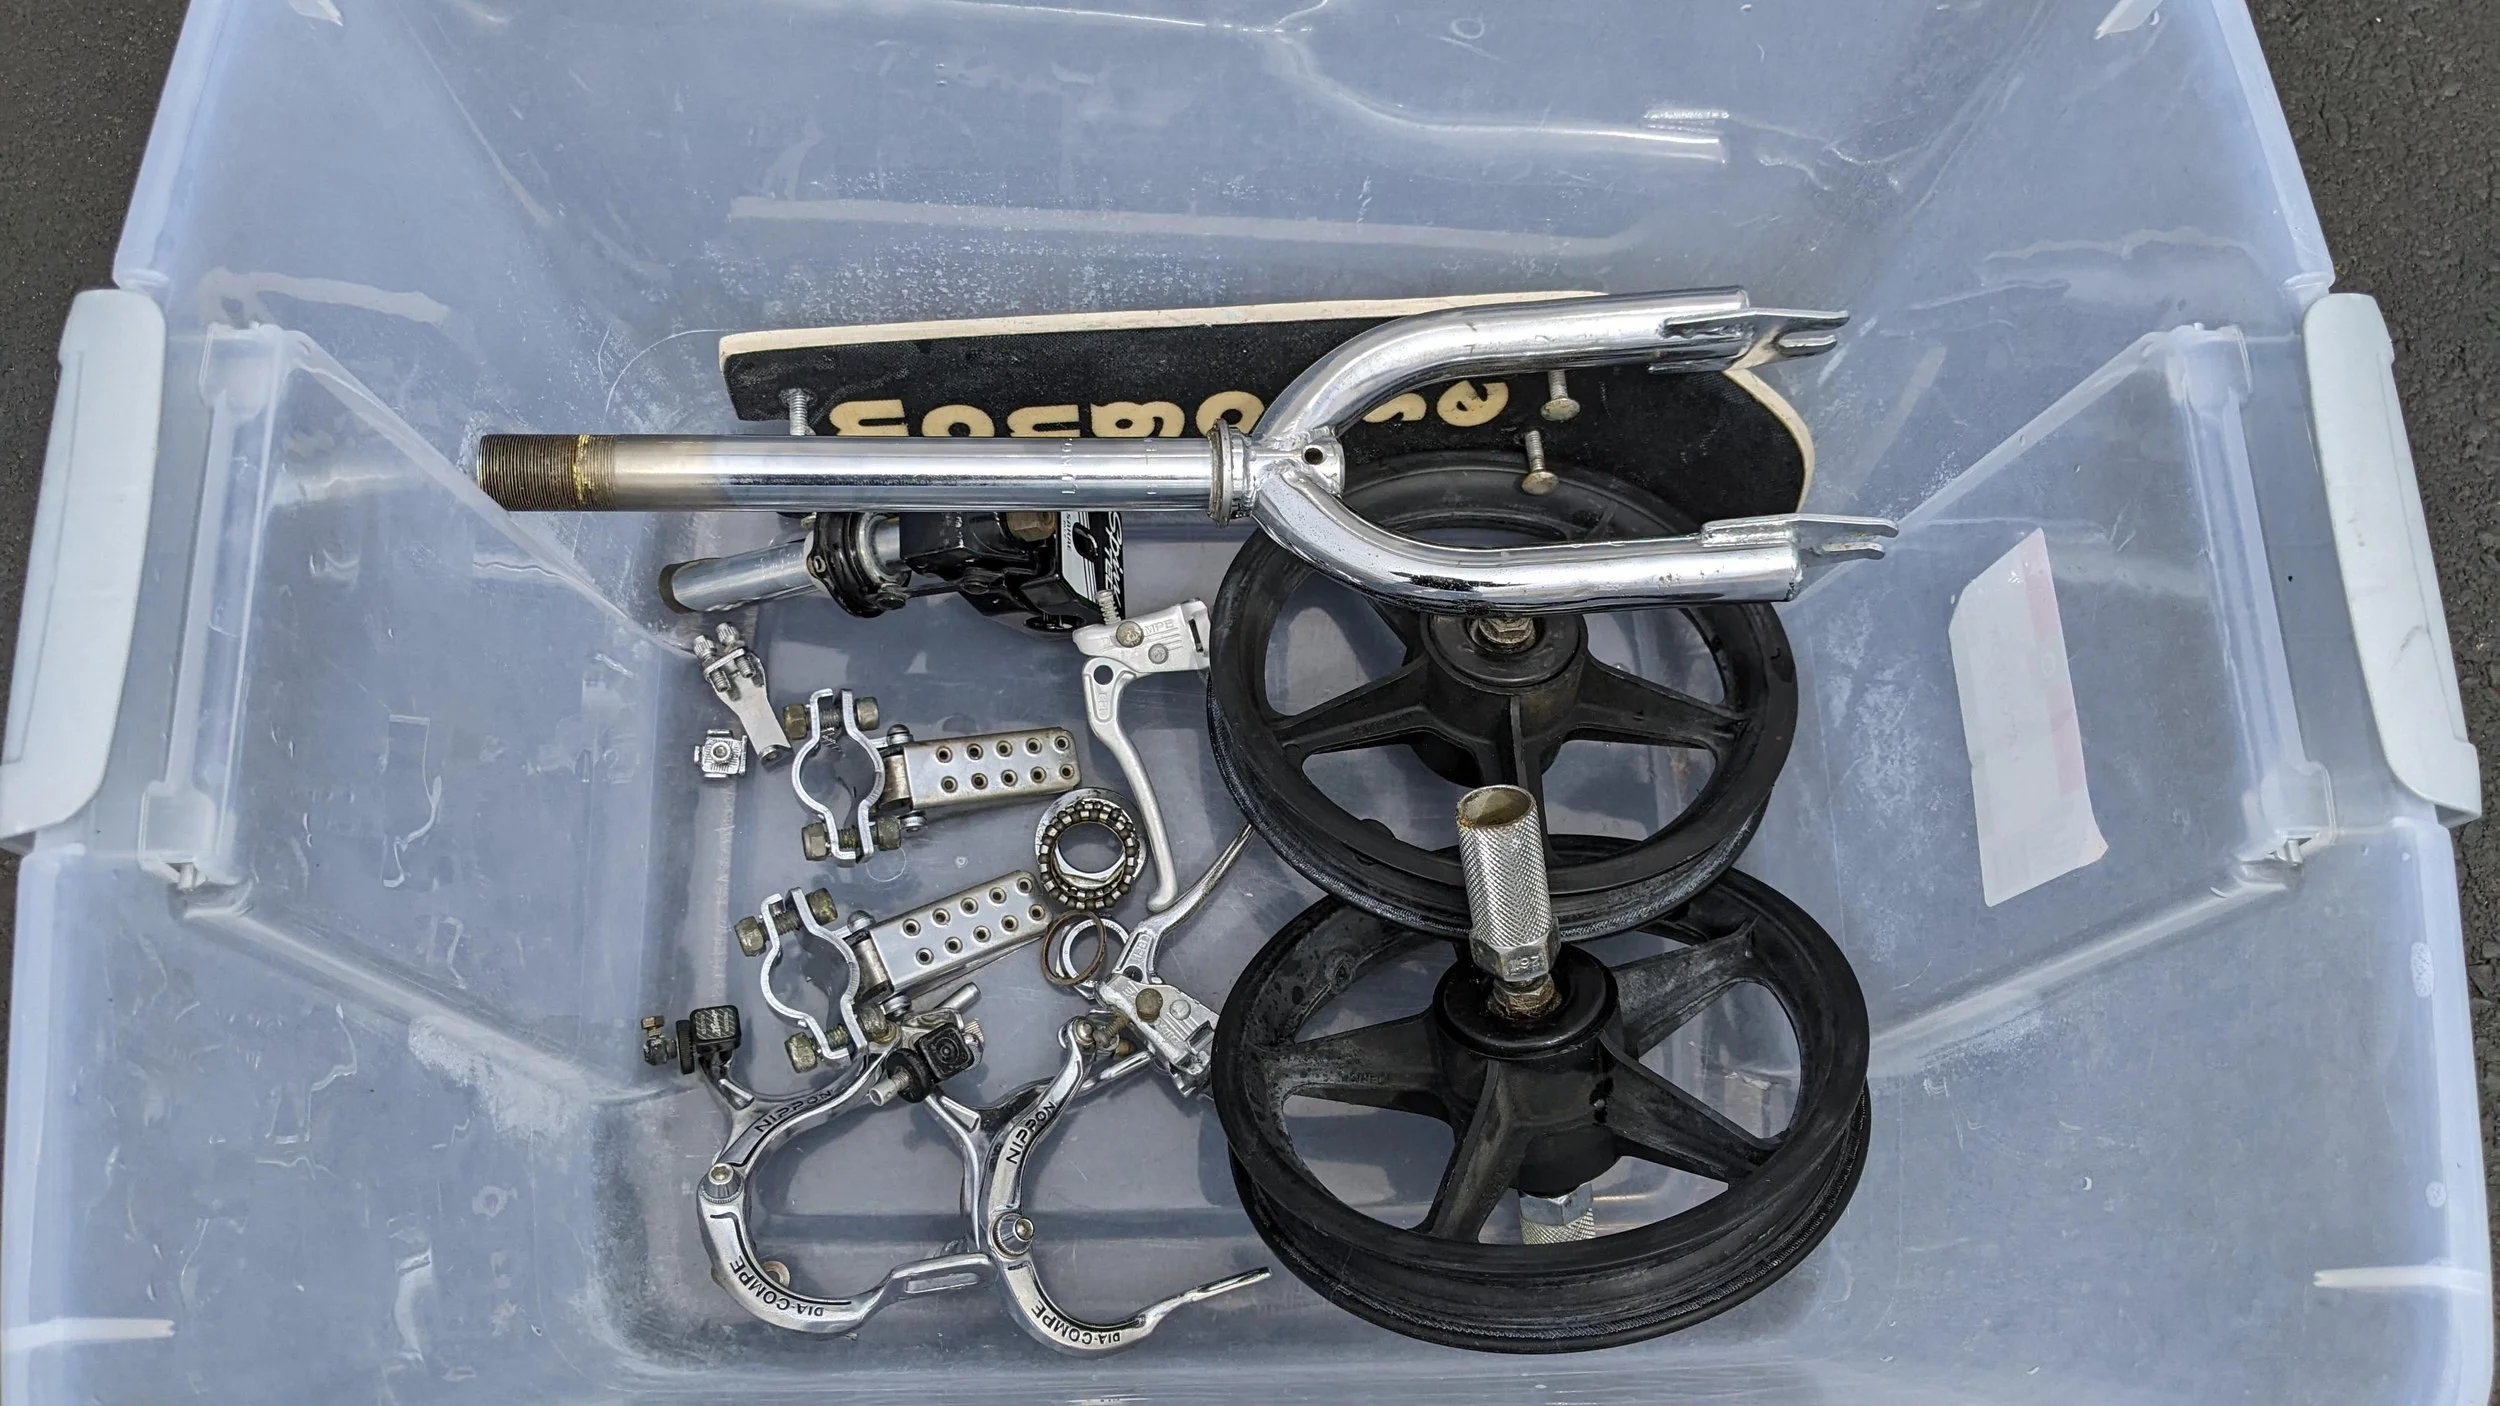
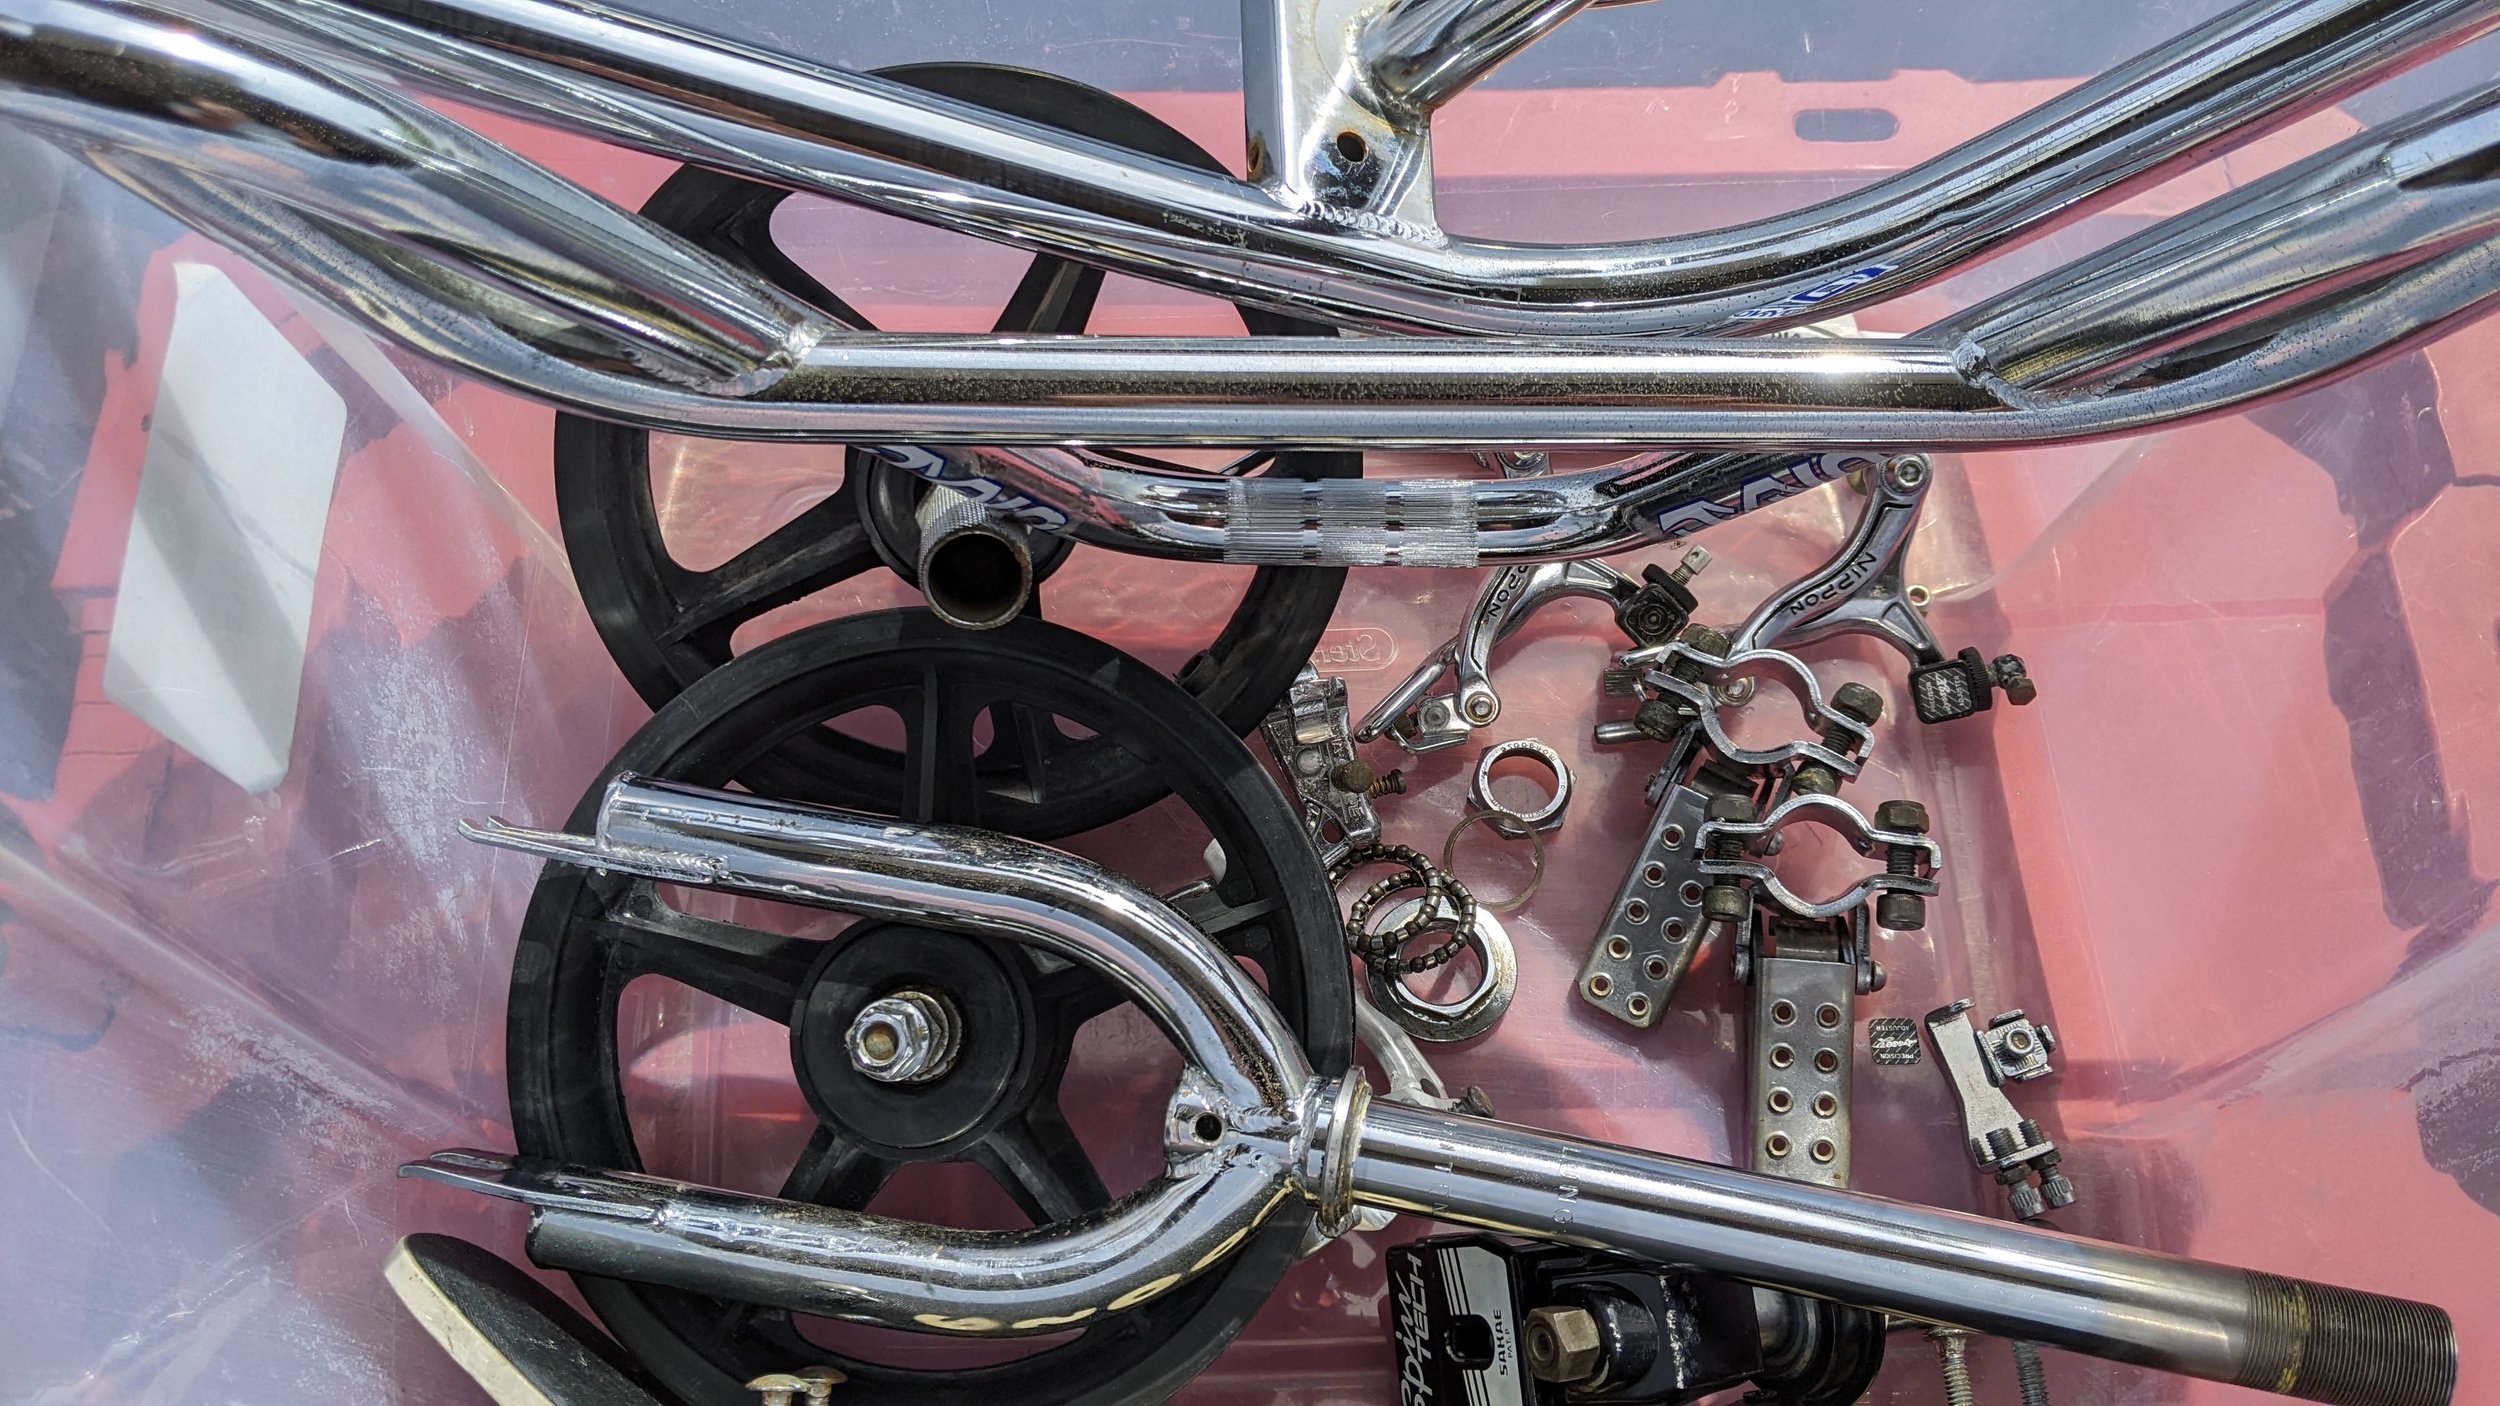
Now that I had it all apart, I needed to get my bin(s) and create my mixture. As I did not have a bin to do the Frame and everything at once, I needed to do the small parts first.
Oxalic Acid Power on first glance looks like you bought 2lbs of Crack. It’s very white and light, so again please make sure to use all protective gear and make sure this process is done in a well ventilated area. I mixed about 3 - 4 tablespoons into the tub container. Some sites will tell you you need to dissolve the powder in hot water first prior. I did not do this and just added it after I had the tub filled about half way.
Make sure you add enough water to completely submerge your components/frame.
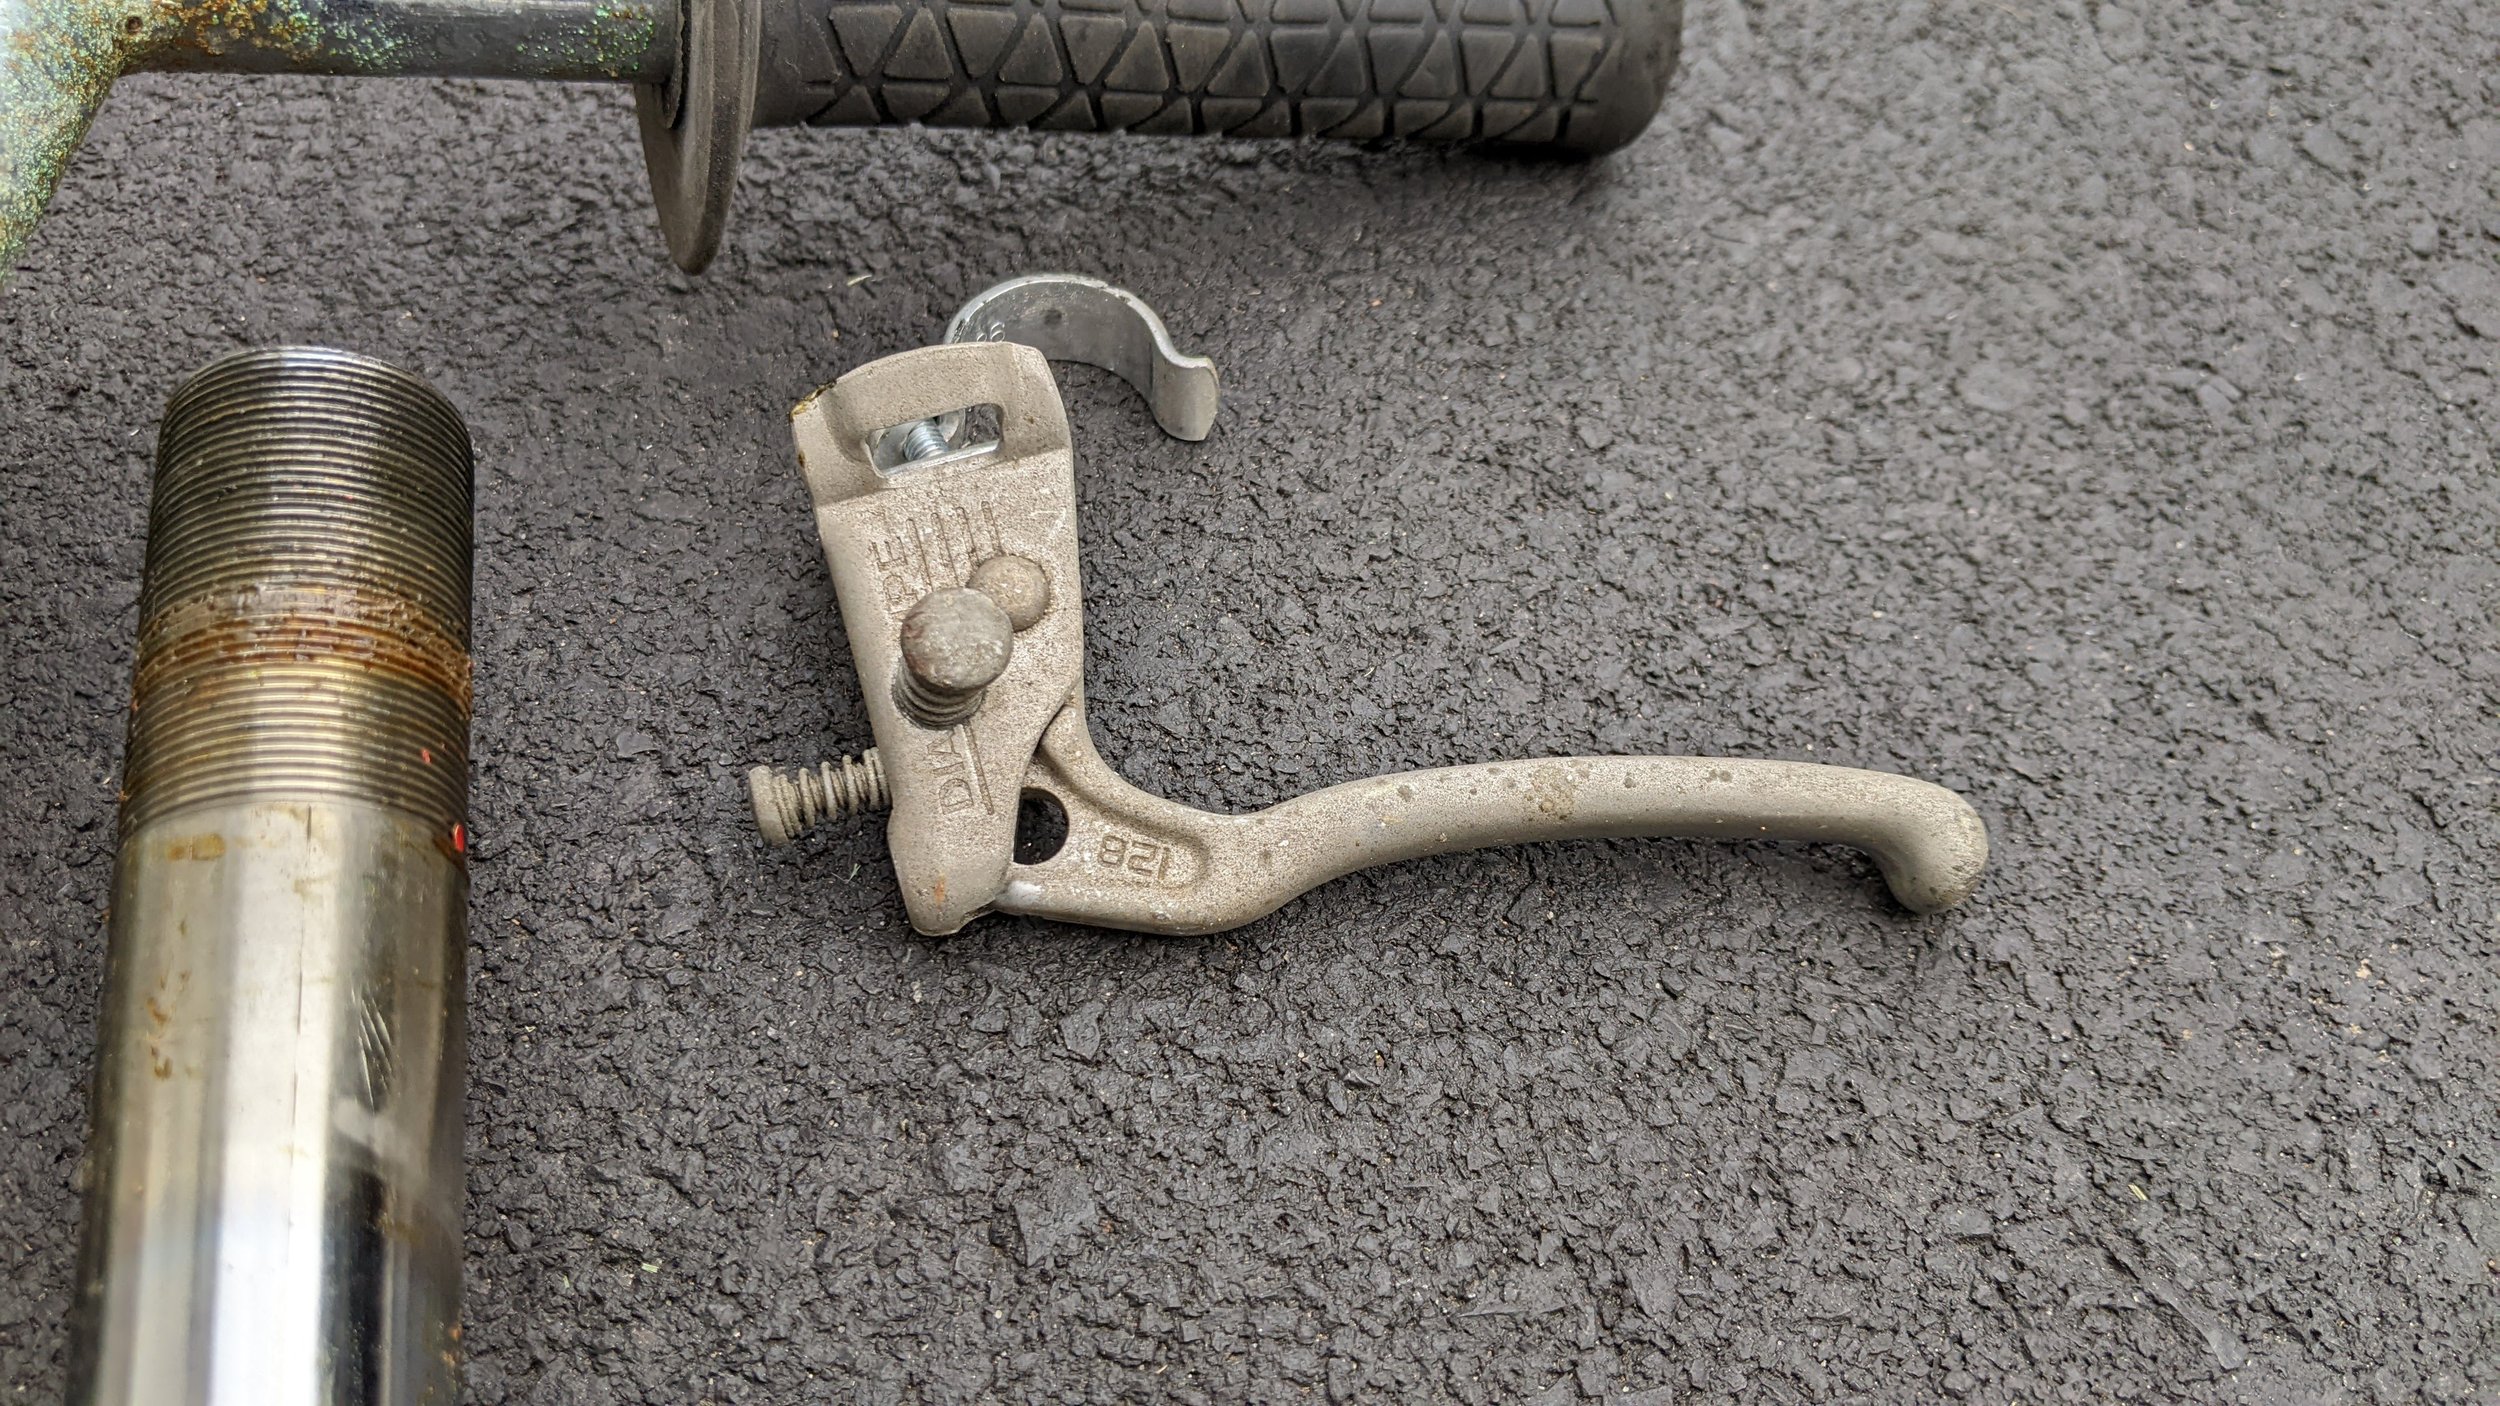
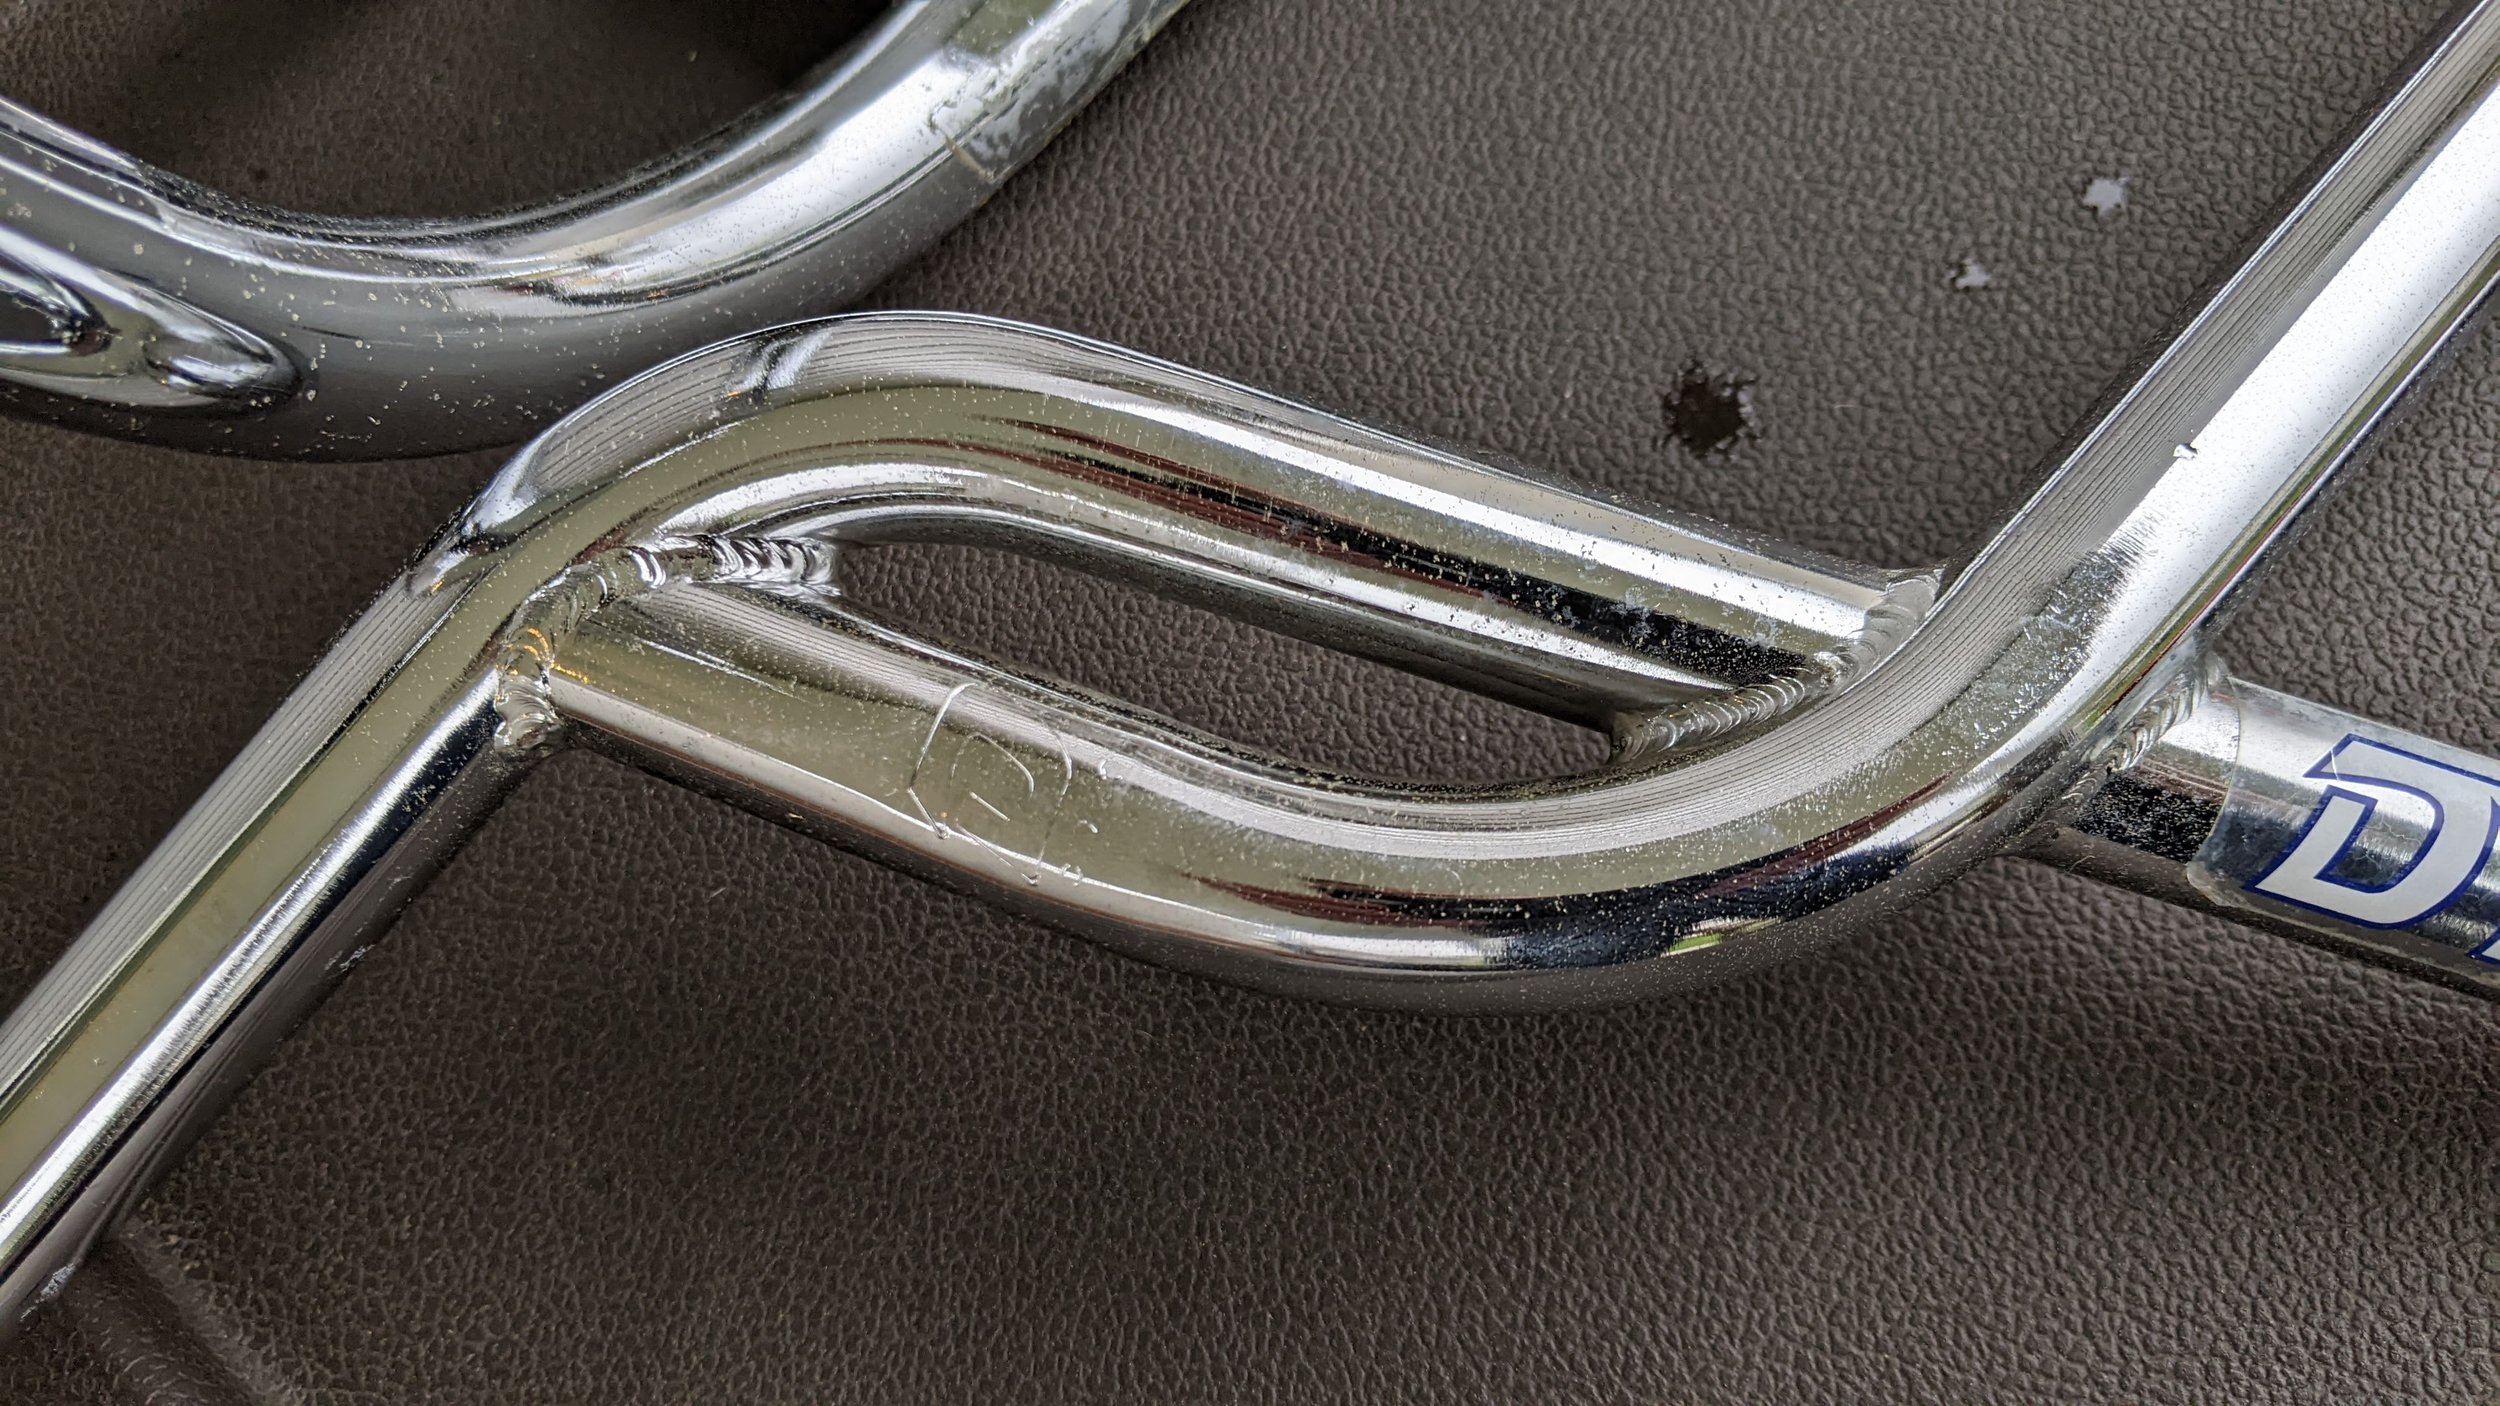
I had most of the small parts in a Oxalic Acid bath overnight (Approx 16 Hours total) I did a light scrub with a sponge today and here is the result at least on the brake. Very pleased with the process and progress so far. Gonna let it soak more…

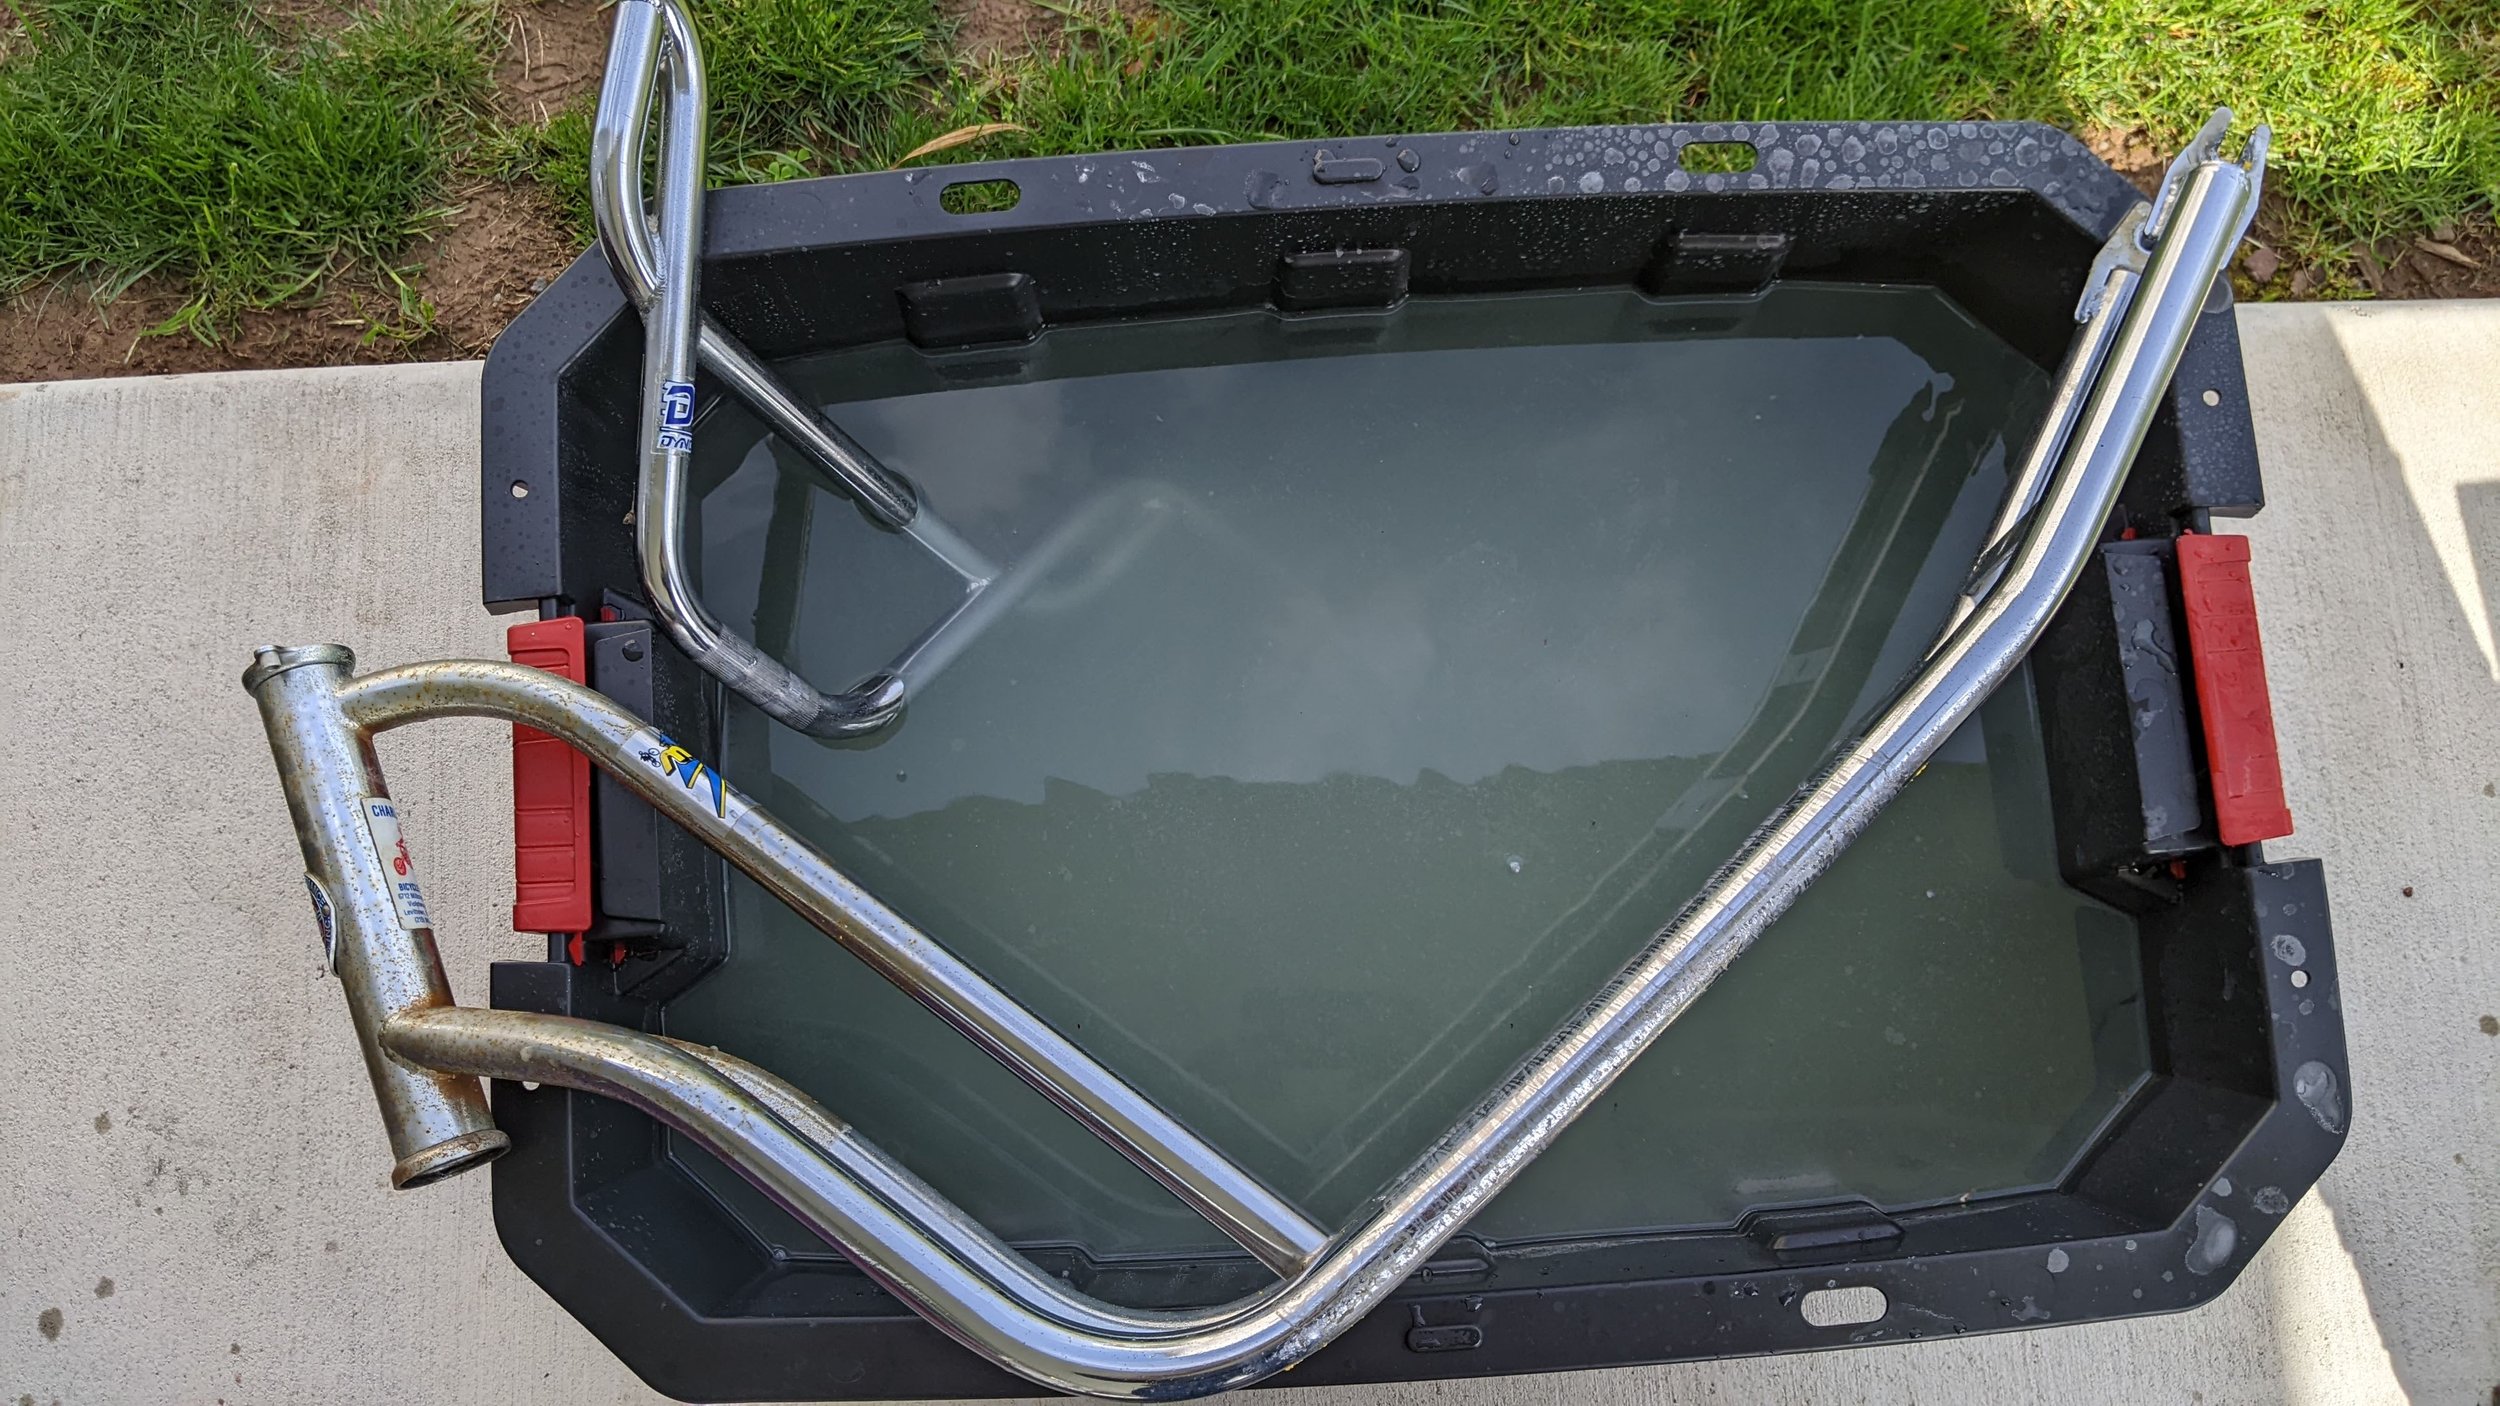
Now for the Frame and Bars! I don’t have a bin large enough for the Frame to sit flat, so it will be a little more of a some of the kids in the pool, then later the rest will get in the pool!

Frame and Bars have been in the Oxalic Acid Bath about 20 hours. Took each out and did a light sponge on the surface, DRAMATIC DIFFERENCE!
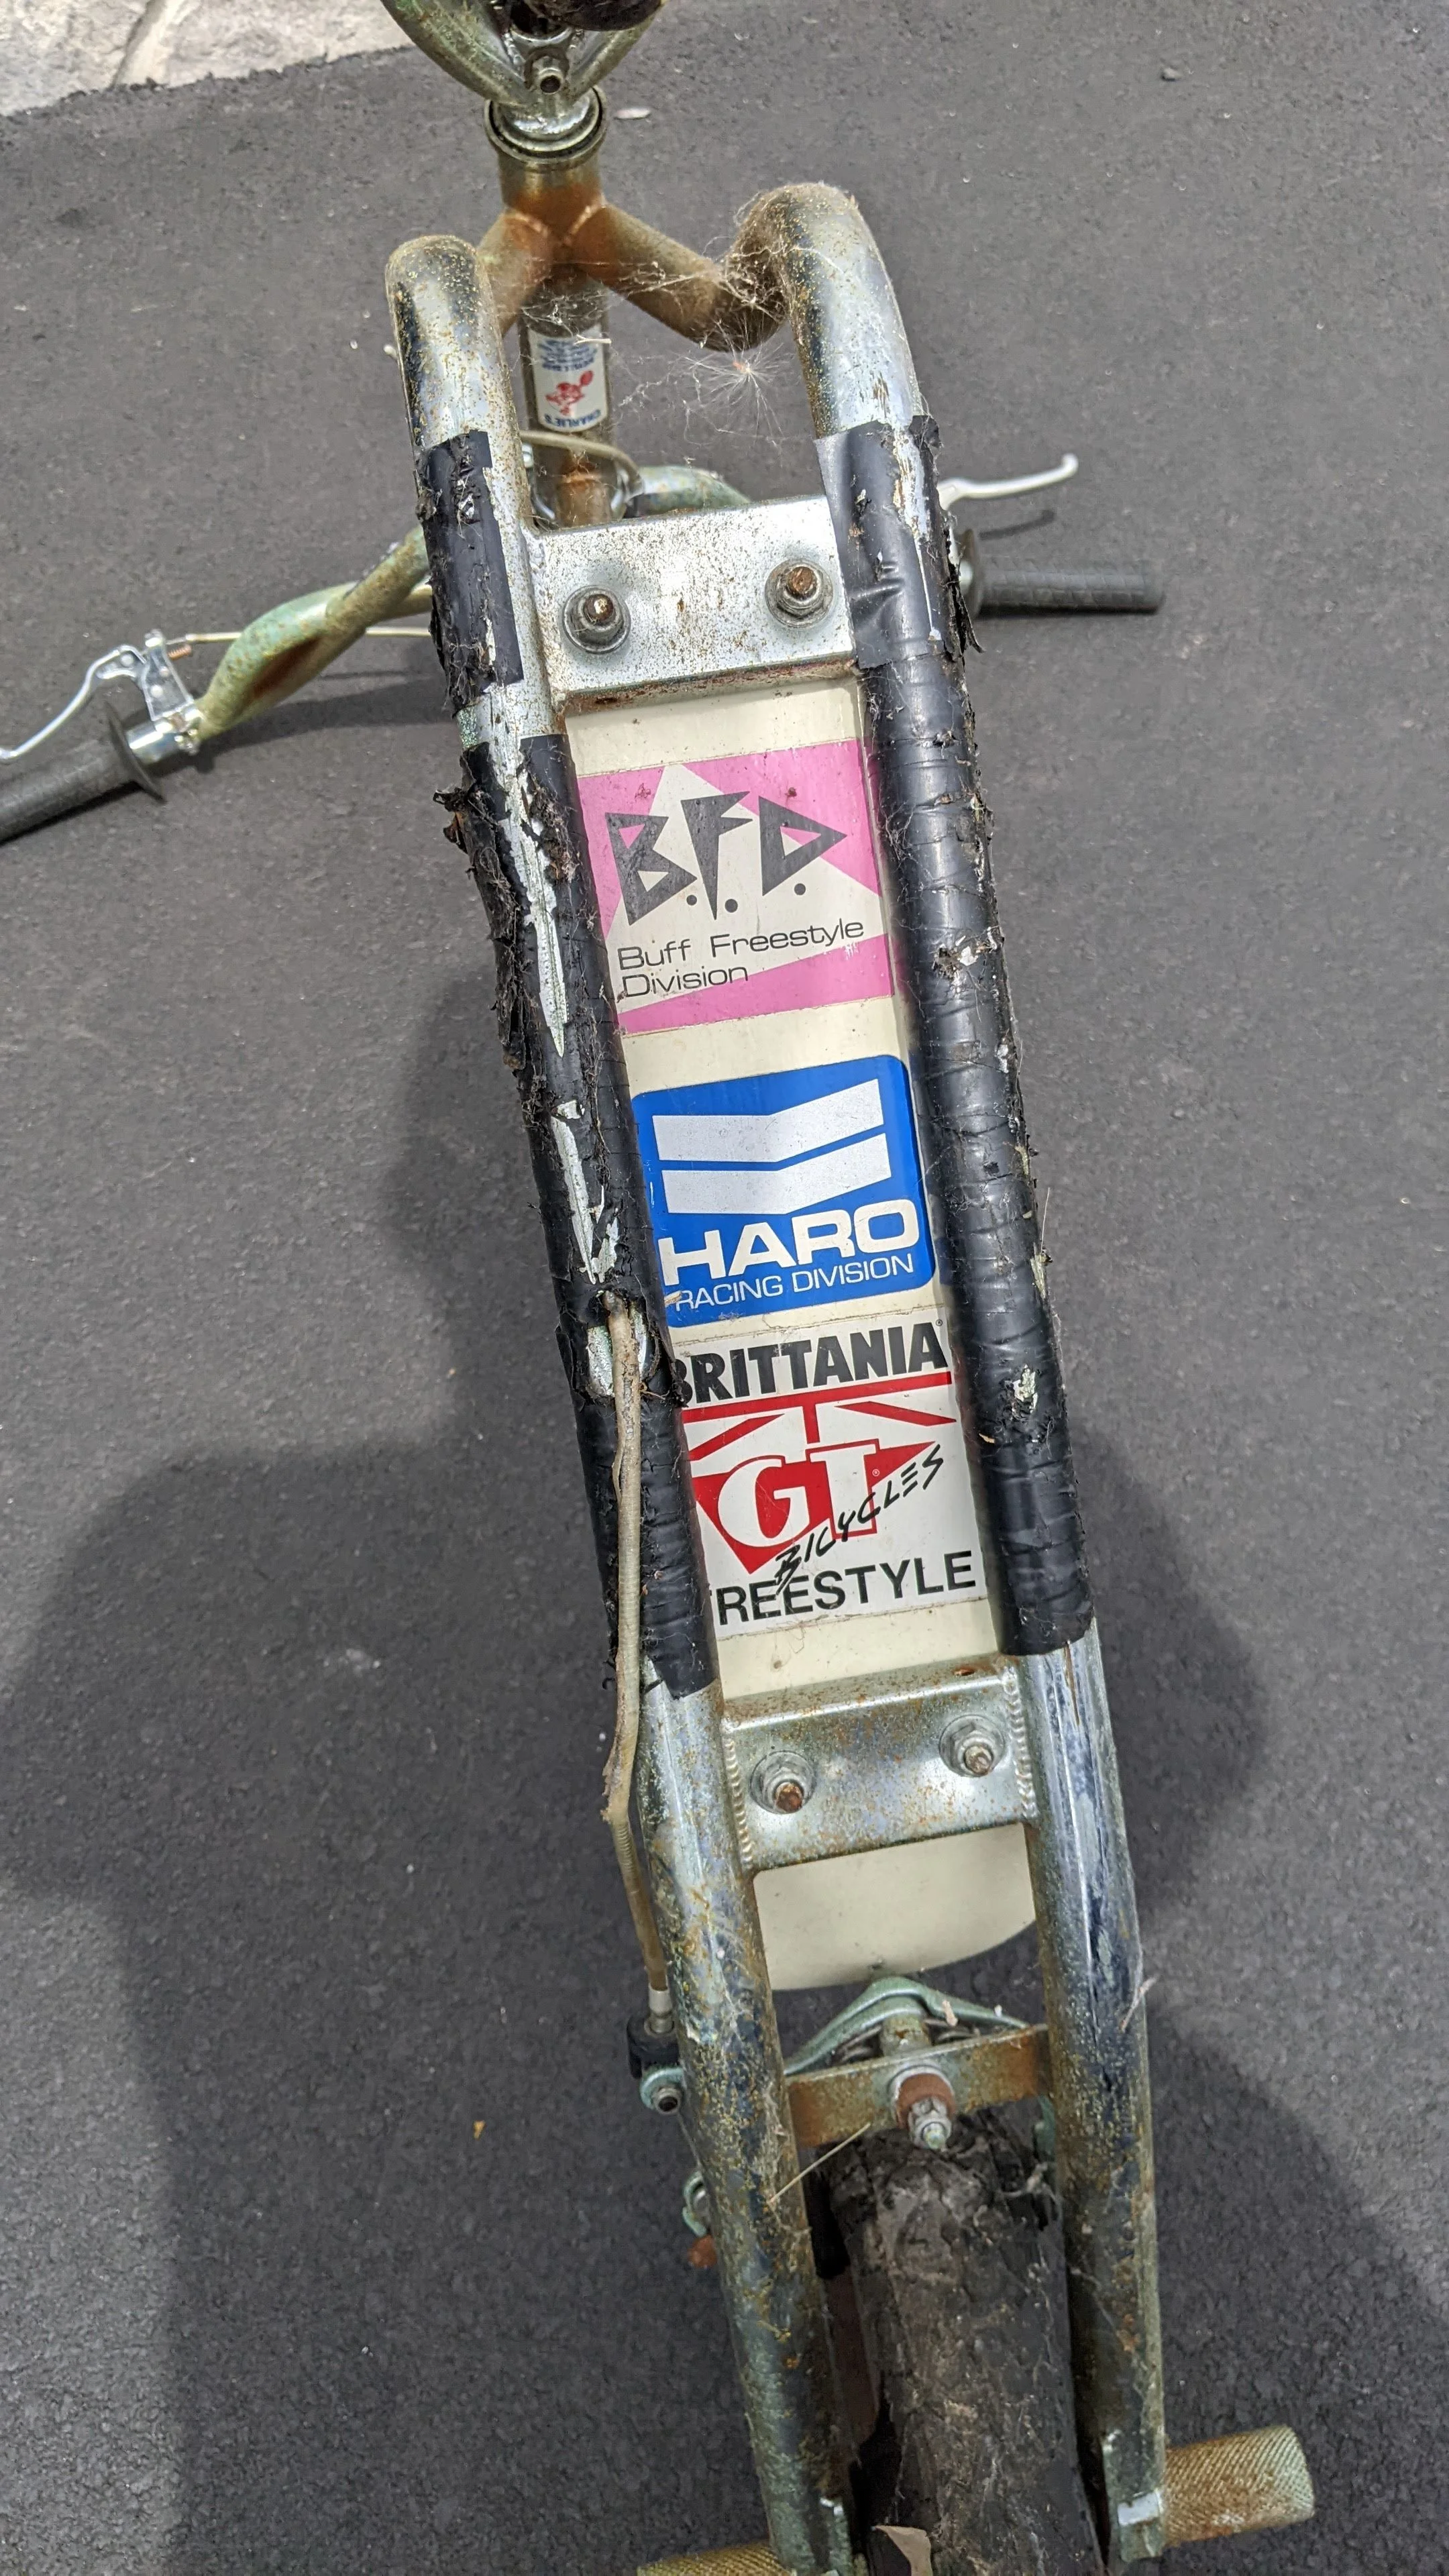
You can see the Equator line where the frame was submerged and not. The white on the bottom rails is from where I had the Electric Tape for 30 years, that will come off when I do a final clean. Gonna take the small parts out today at some point...


Small Parts have been removed from their Acid Bath and Cleaned. You want to make sure you are not just rinsing this stuff off, you want to neutralize the acid. Using Dawn Dish Detergent in a soapy bucket like you are going to wash your car will do the trick!
I also used and this may seem odd, Arm and Hammer Advanced White - Extreme Whitening Toothpaste. Why you ask??? A few years back I did a test on cleaning yellowed car headlights… These $40 kits did not do anything really. So I decided to try this toothpaste right out of the tube… Anyway, holy shit the result. Don’t waste your money on these kits. I used this on the part to clean up any little tough areas which there really were not any, and it did give that polished look. Imagine what it can do to teeth???
Overall very pleased with the progress. The one Brake Lever came out a little “Dull” but maybe I made a new color available.


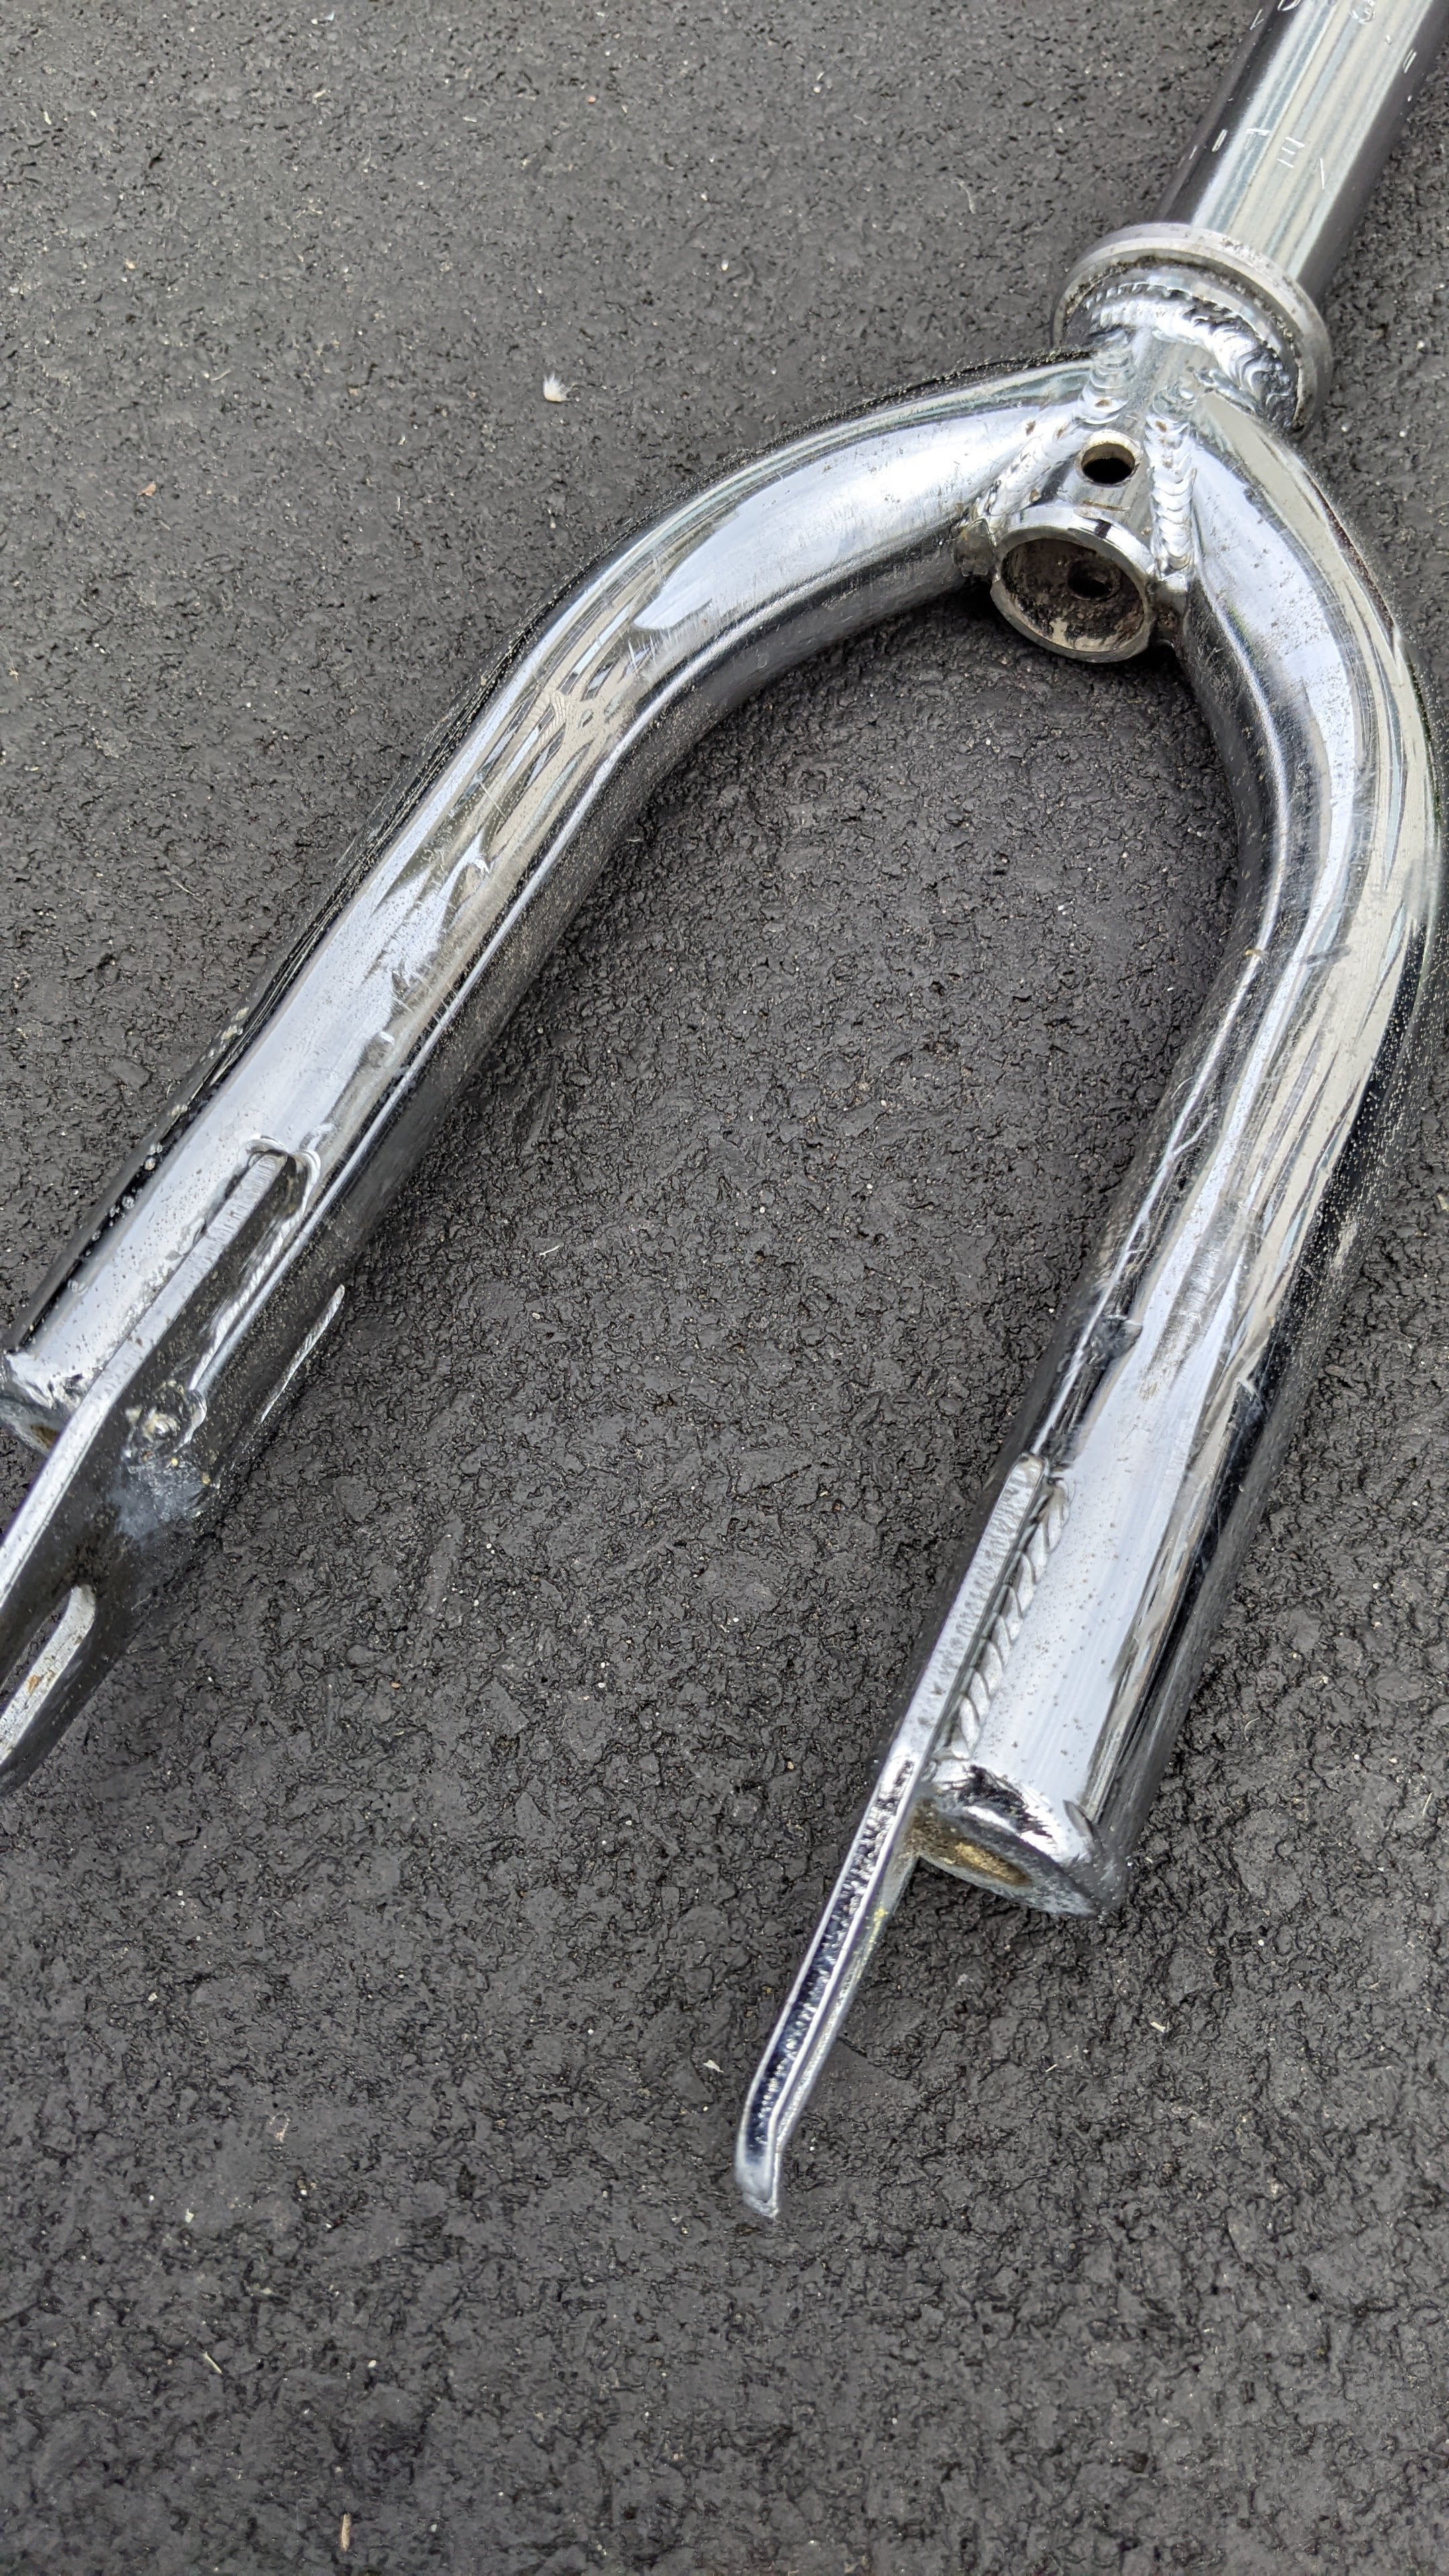

Removed the frame and bars this morning and they look great! Again, not going for perfection as there is some pitting, but very small/light. Showing a little after and before to grade the difference. They were each in the back just under 48 Hours. Probably did not need that long.


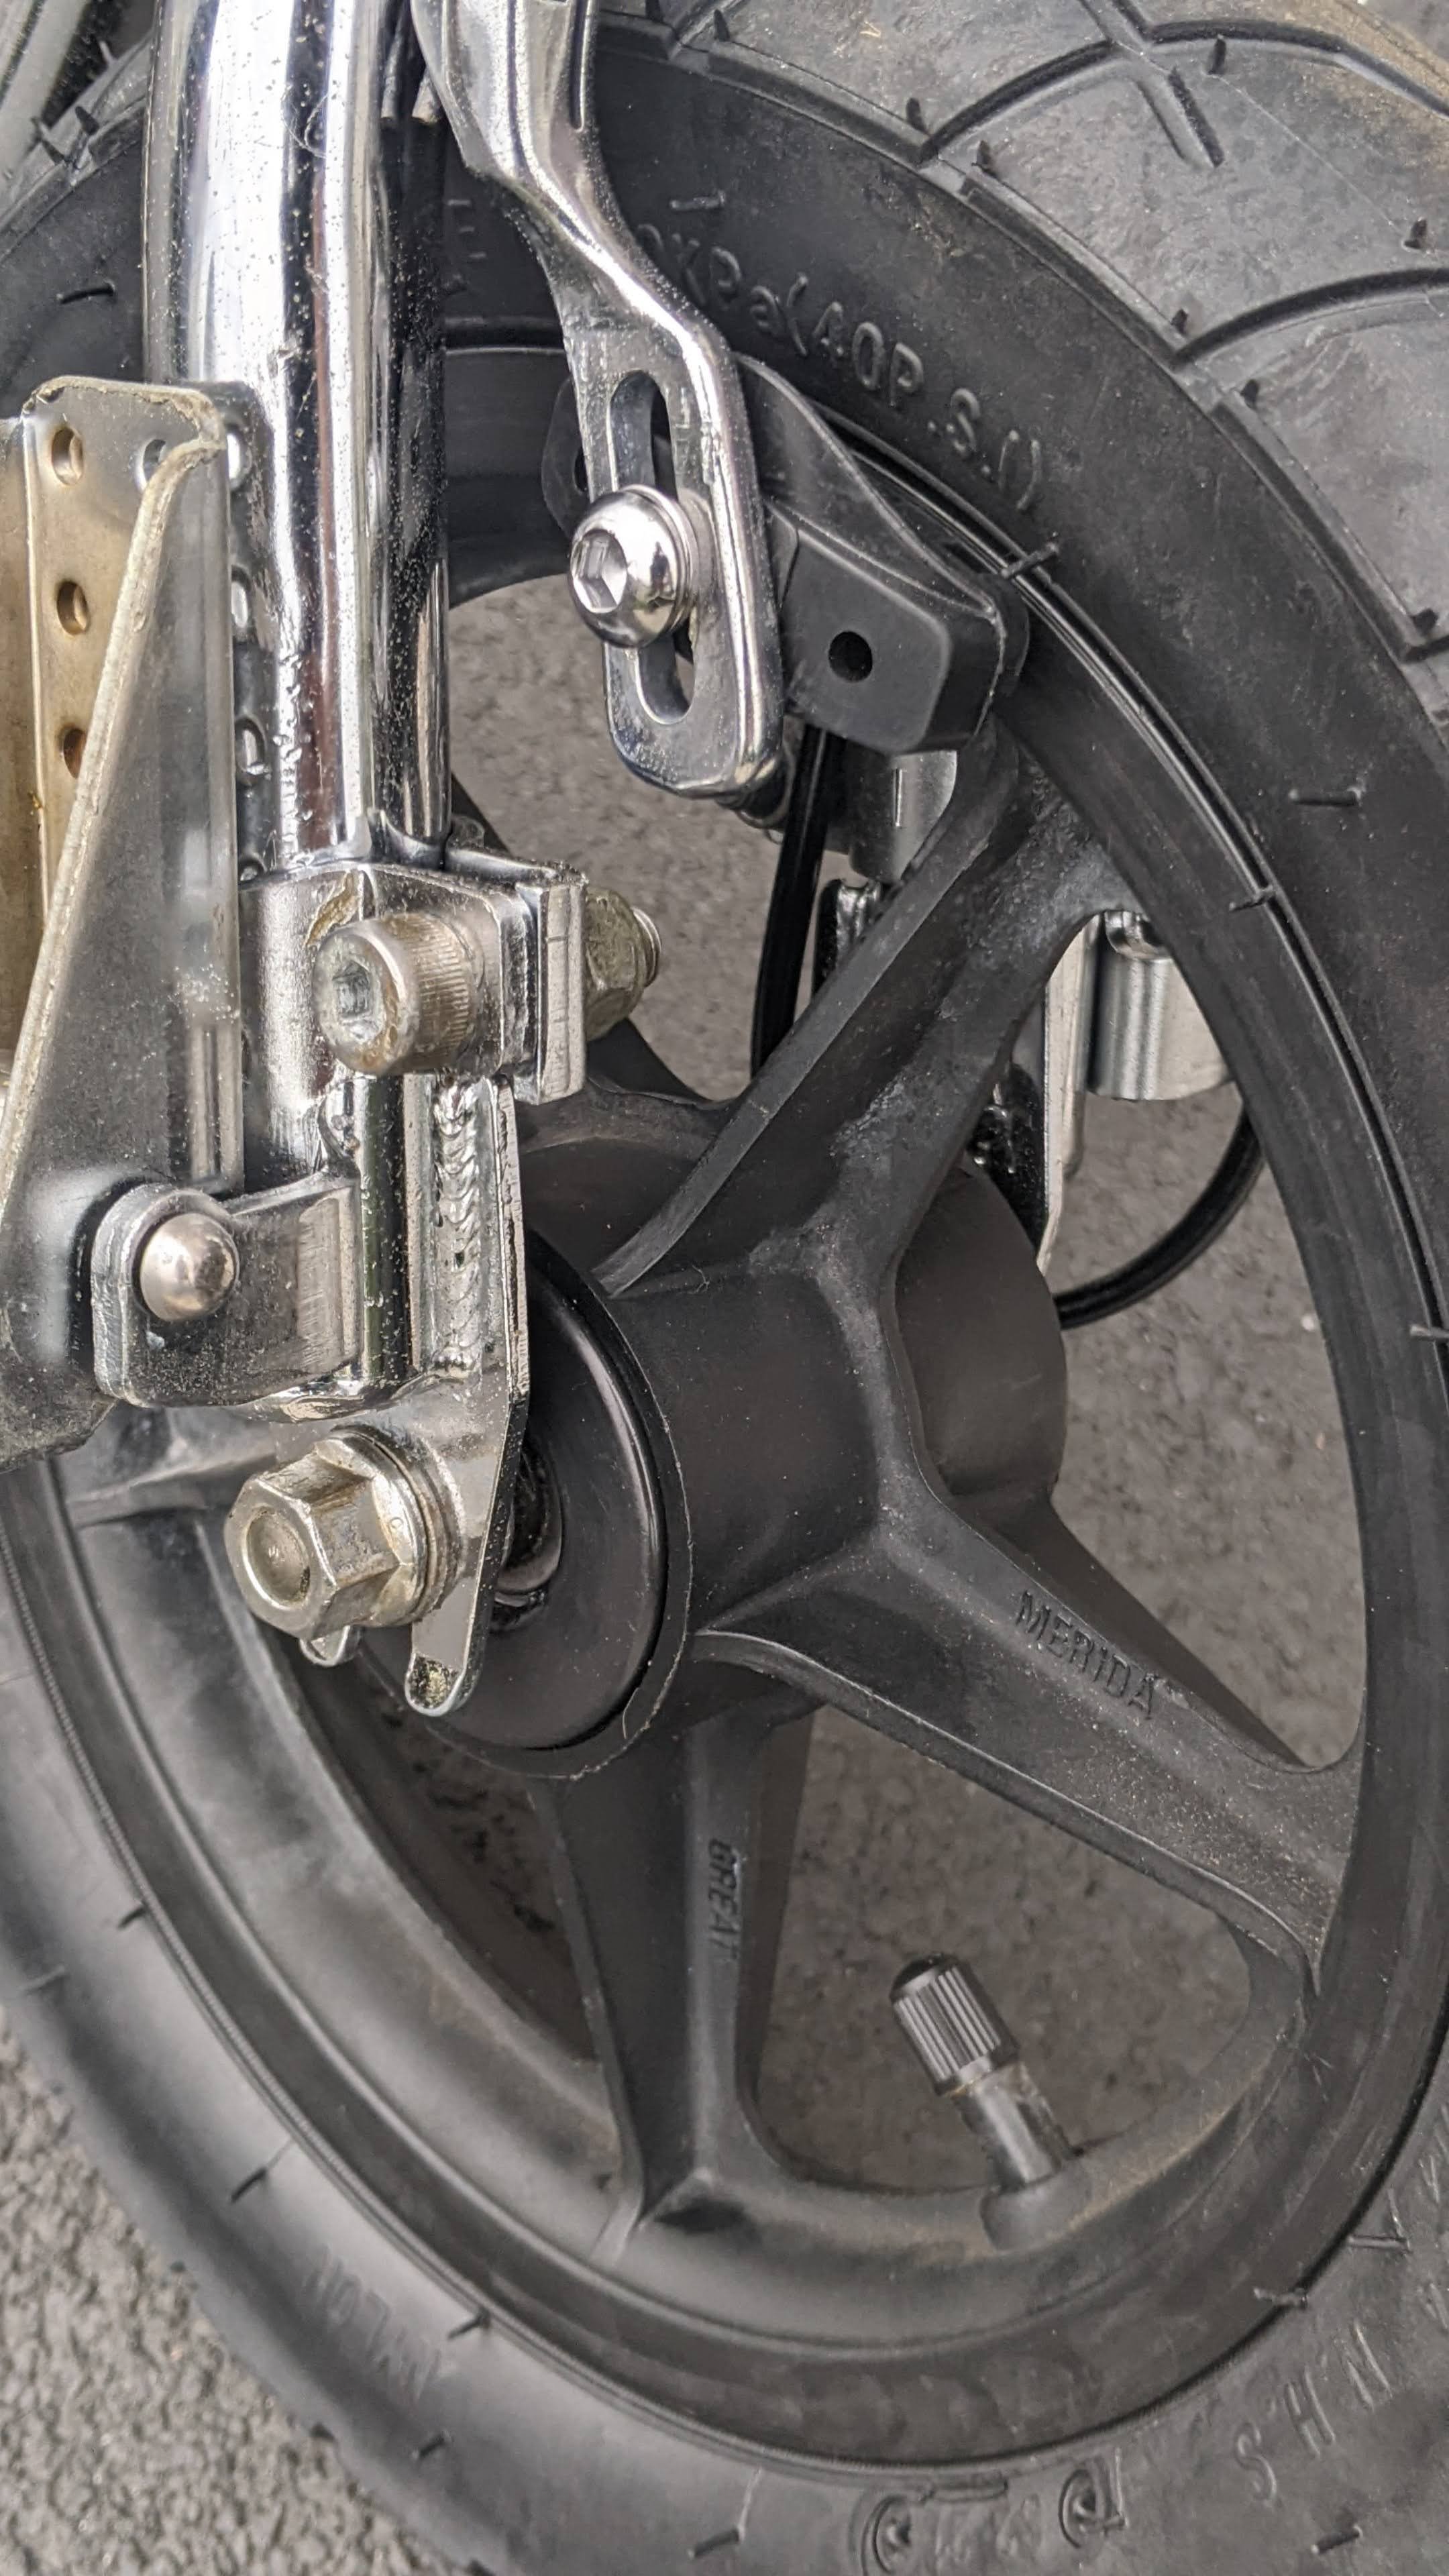
Sun came out today in PA, so I gave the frame, fork and bars a little polish not only to make shine, but give some protection. I will be taking the mags apart to clean and re-grease them.
Now just waiting for some parts (Tires, Tubes, Brake Cables and Brake shoes)

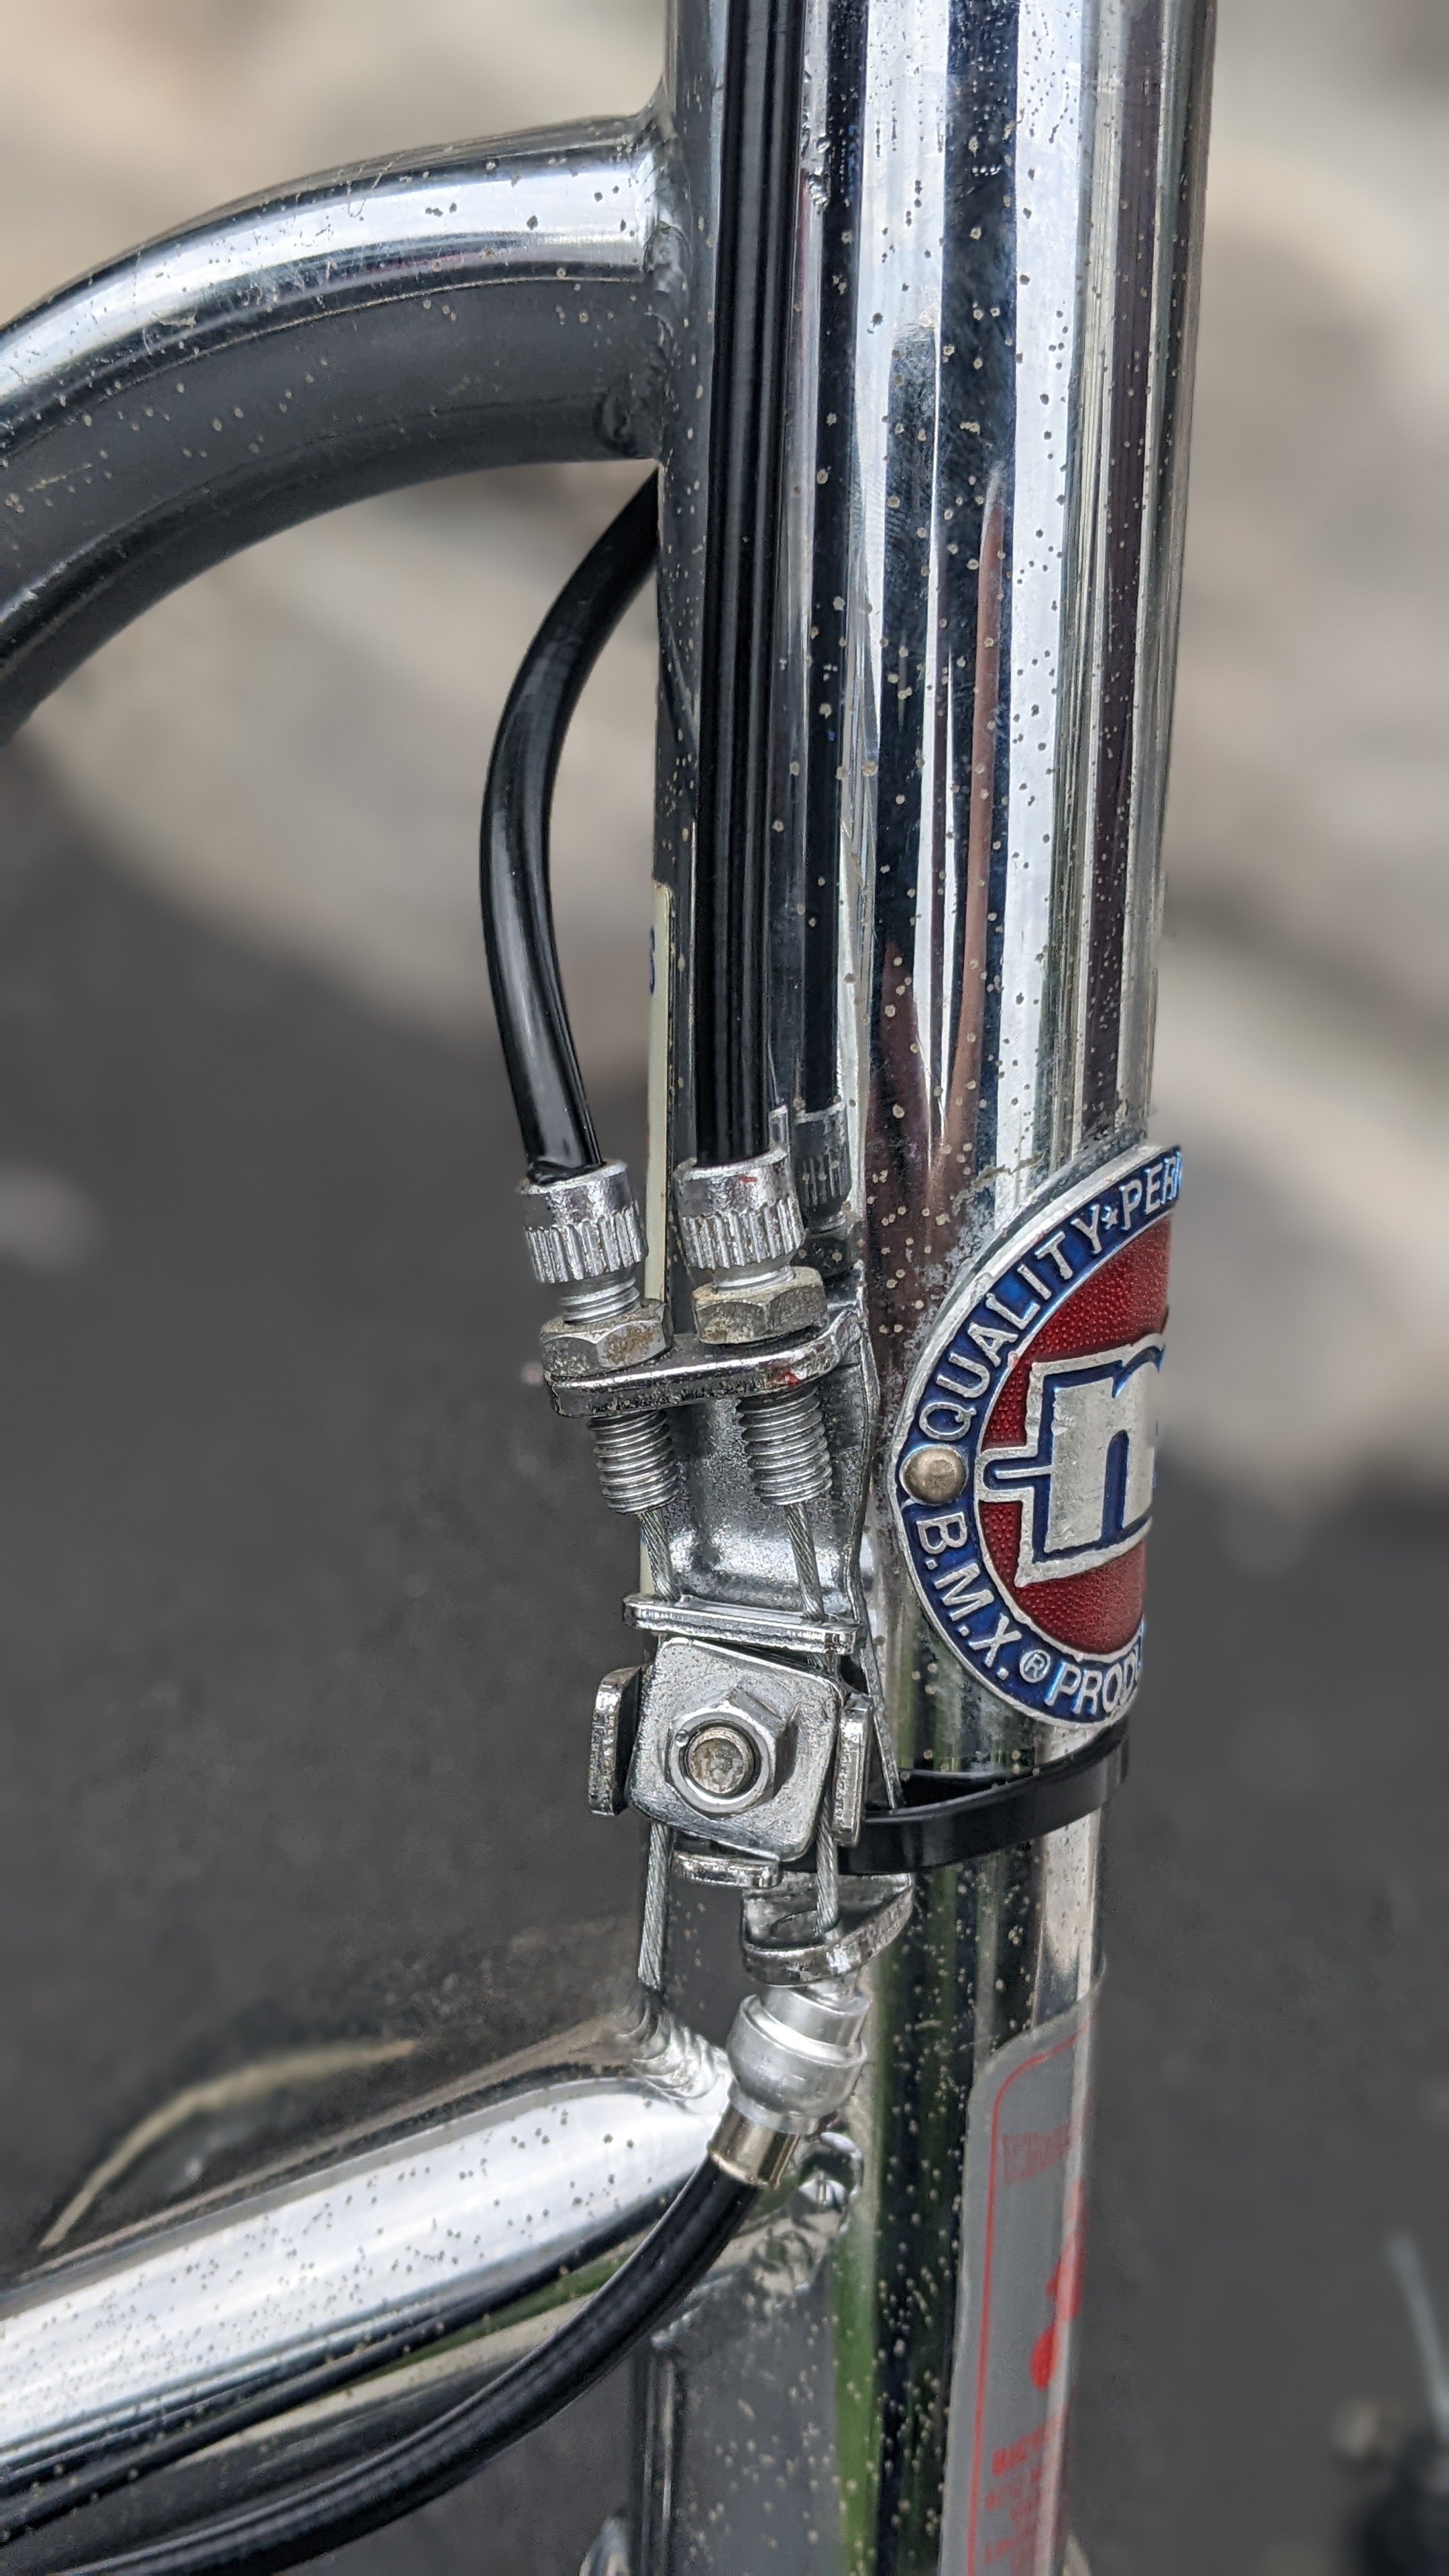
5/11/2022: Re-assembly Day!
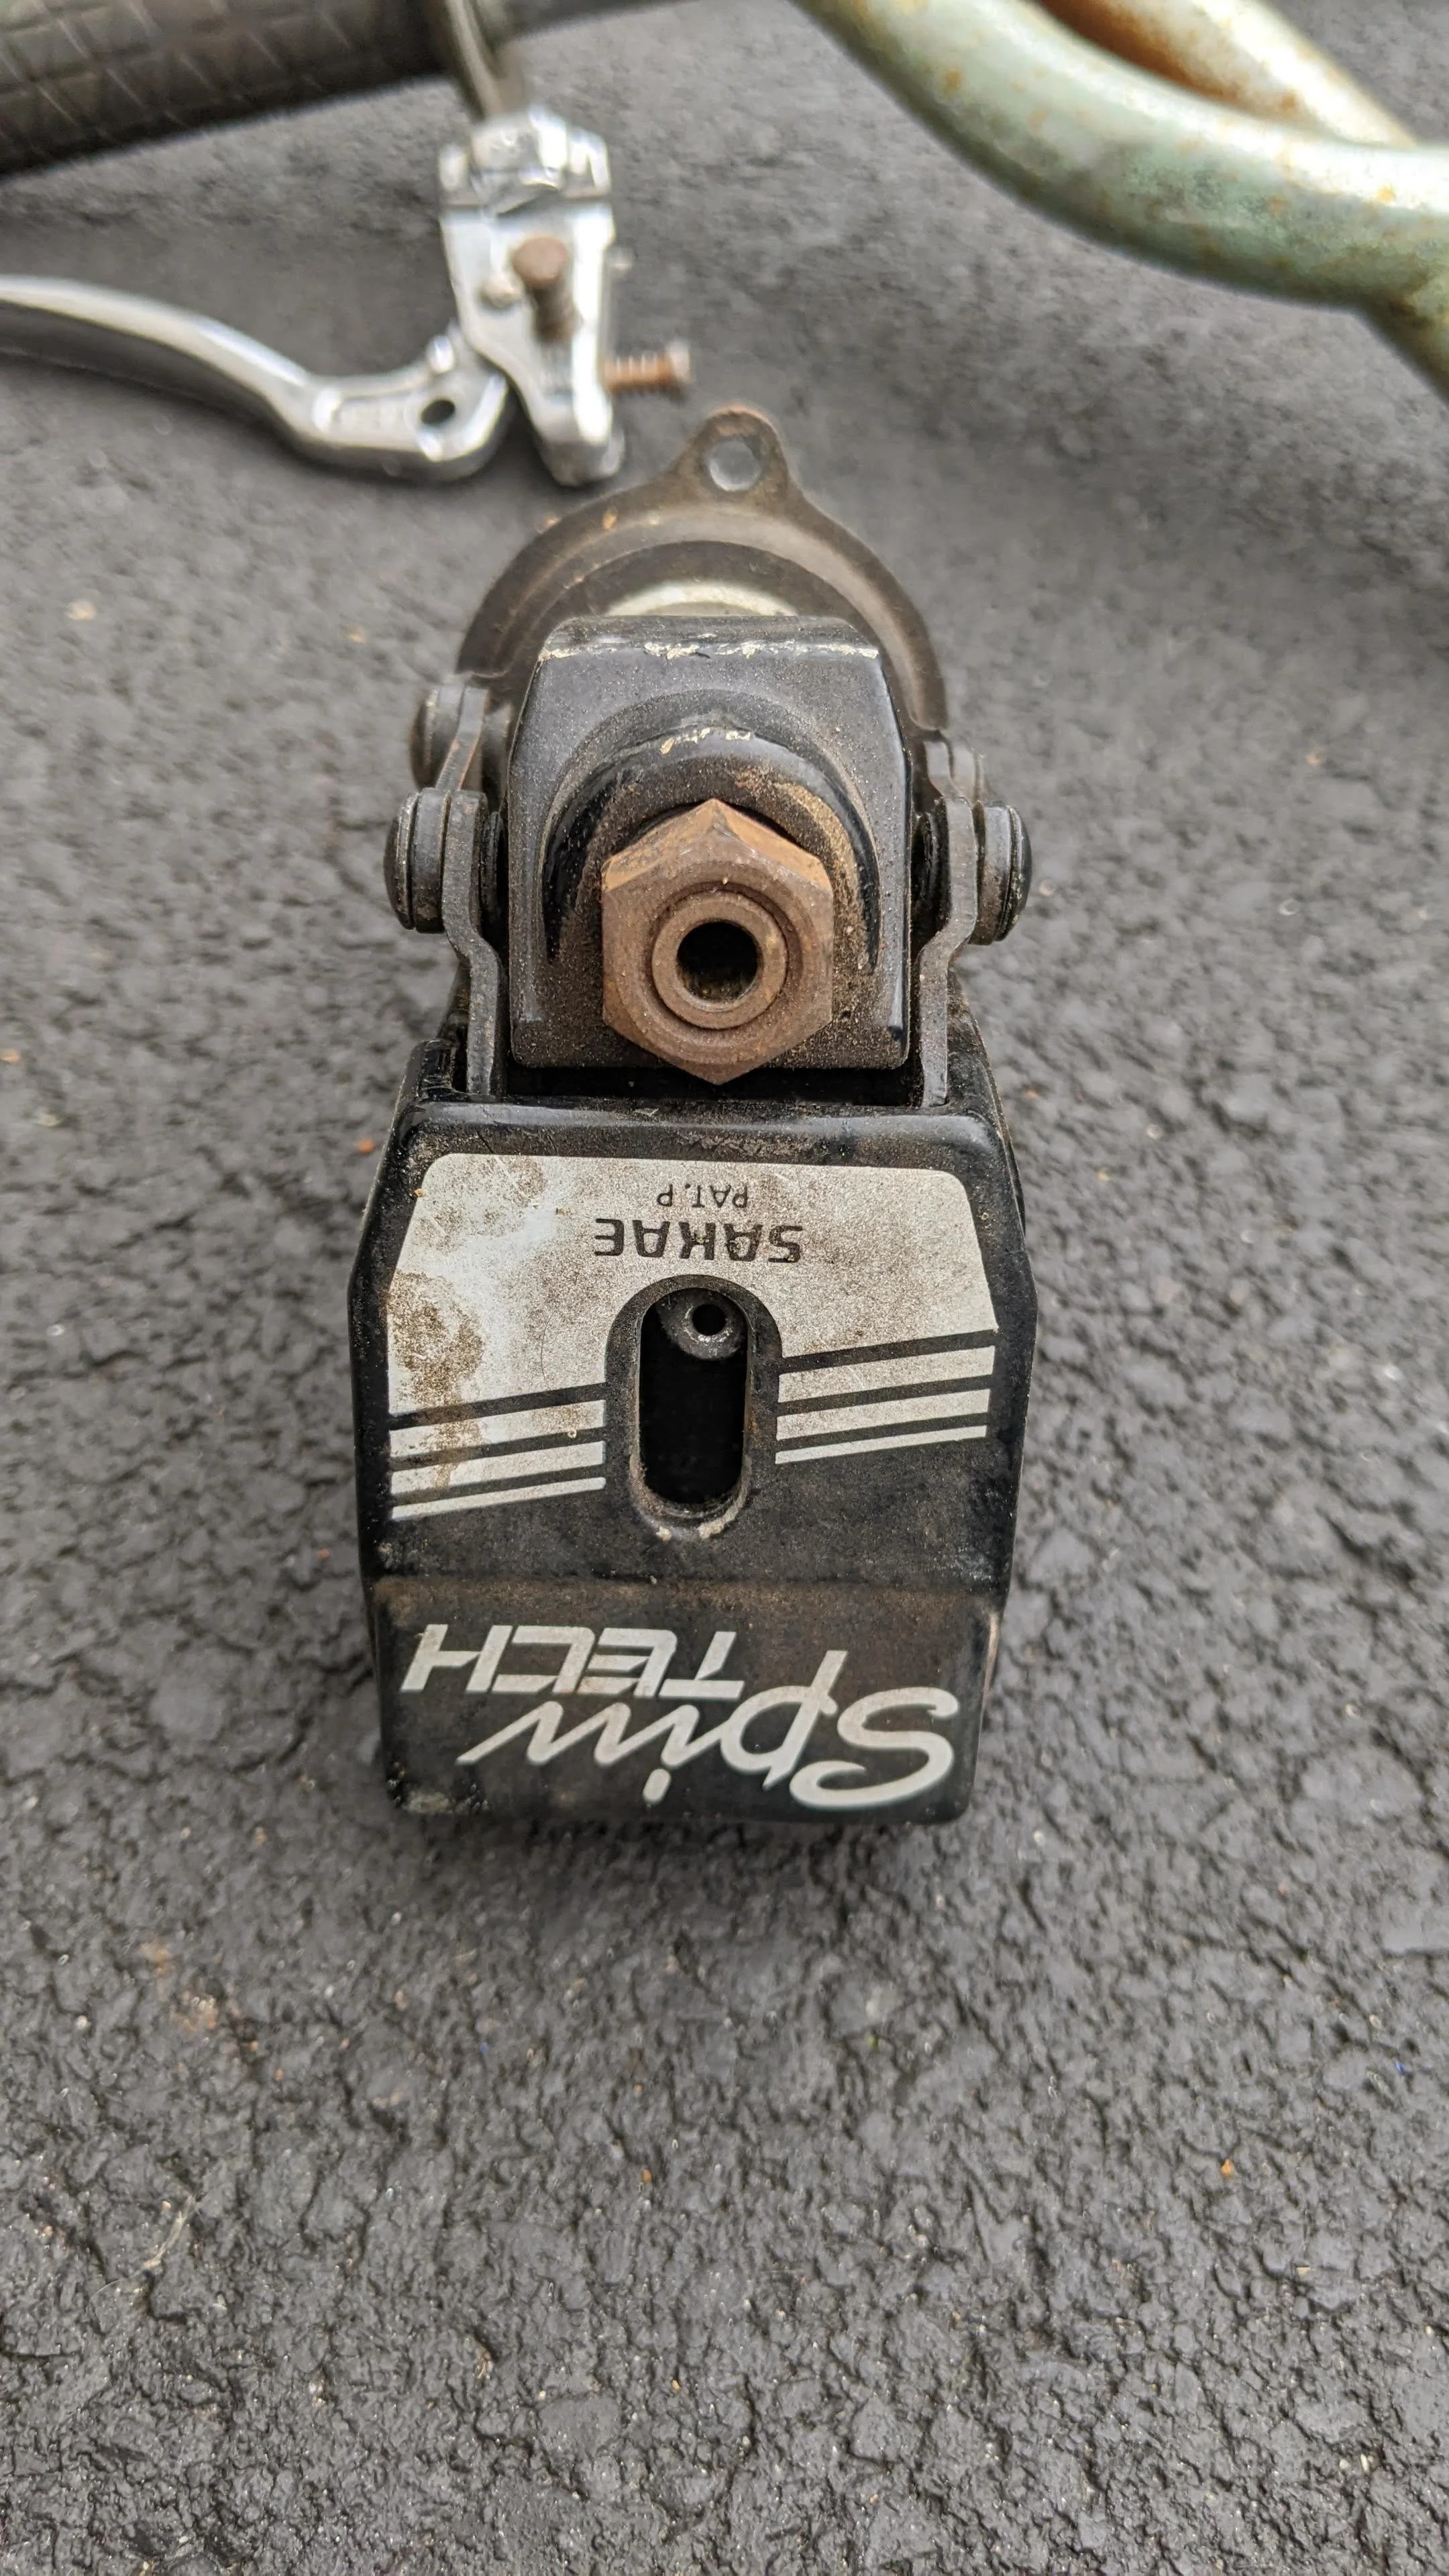
No real issues with this other than the SpinTech Stem/Rotor… Now, it’s been well over 30+ Years since I worked at a Bike Shop and also had to do these on a regular basis. I did not look up anything, but put my mind thought “SpinTech College” for about 15 Minutes…
Overall, a complete success! Took it for a ride and I don’t think it was designed for 6’1 and 215lbs of me, but it held its ground!


A big THANK YOU to eveyone who reached out.
This restore was not sponsored nor were any parts donated, I simply did this to restore what was a cool Scooter from my childhood. Granted part of me thought that the rust was going to be the death of this little guy, but with a little patience and the right products, it’s new(ish) again!
Replacement Parts List:
12.5x2.25 (12-1/2"x2-1/4") Tire & Inner Tube Set for Razor Pocket Mod (Bella, Betty, Bistro, Daisy, Hannah, Sweet Pea), Currie, Schwinn, GT, IZIP, eZip, MX125 Dirt Rocket - Gas & Electric Scooters: https://amzn.to/3ysvJSo
AME BMX Tri Bicycle Grips - Black - AGBTB: https://amzn.to/3M5Zj47
ODYSSEY Slic-Kable 1.5mm Brake Cable: https://amzn.to/3yui4du
2 Pairs Road Brake Pads with Installation Tool Caliper Brake Blocks 50 mm: https://amzn.to/3N4ysp6